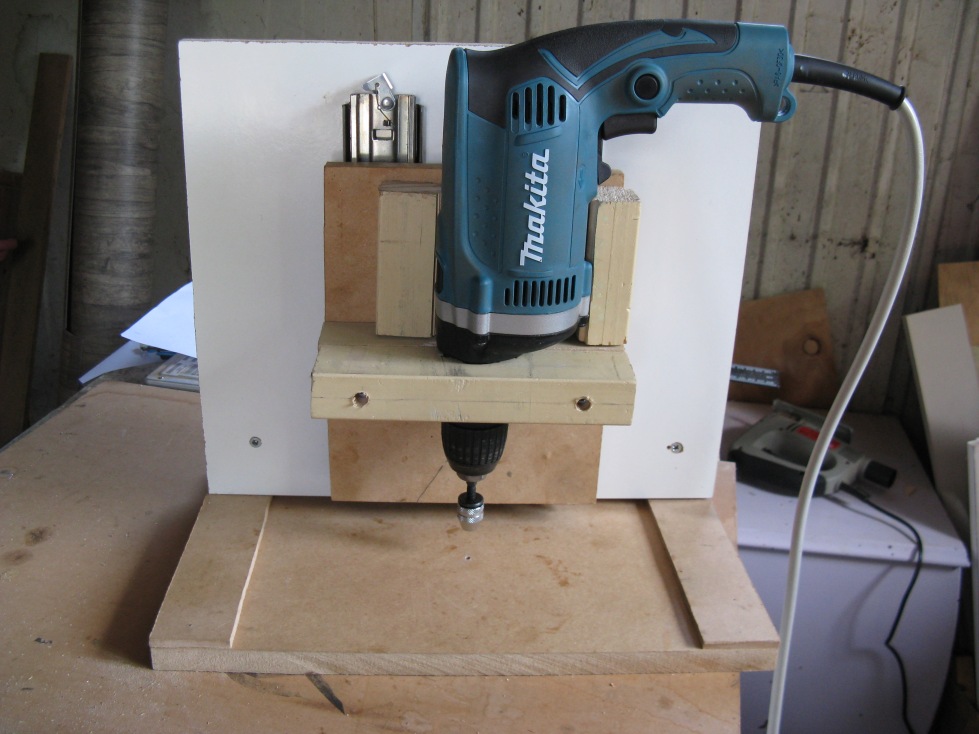
PCB Drill Press
A couple of weeks ago I posted about the Inkjet/Toner Hybrid PCB printing method. Now it’s time to drill the through holes, a job which I never find much fun – I guess that’s why I’ve put it off for a couple of weeks, that combined with the fact that I didn’t really have the right tools. My big old clunky drill press really isn’t up to the task, it has far too much horizontal play and is nowhere near fast enough for 0.8mm drill bits.
I would have loved to pick up a Dremel 300


Materials Used
- Various scraps of wood and MDF I had lying around the garage
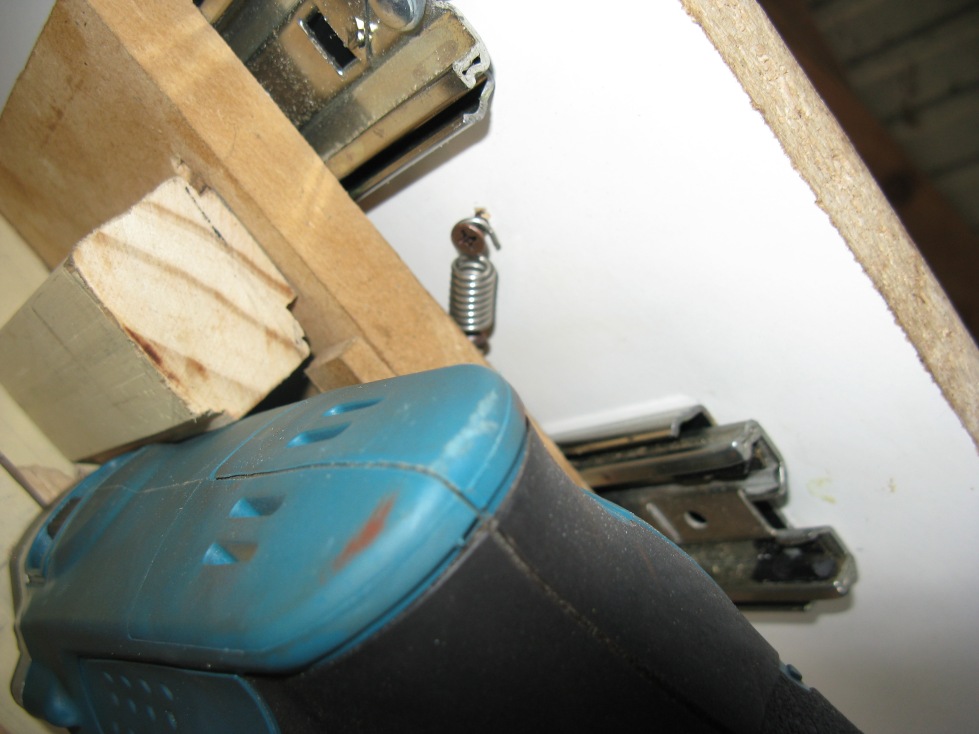
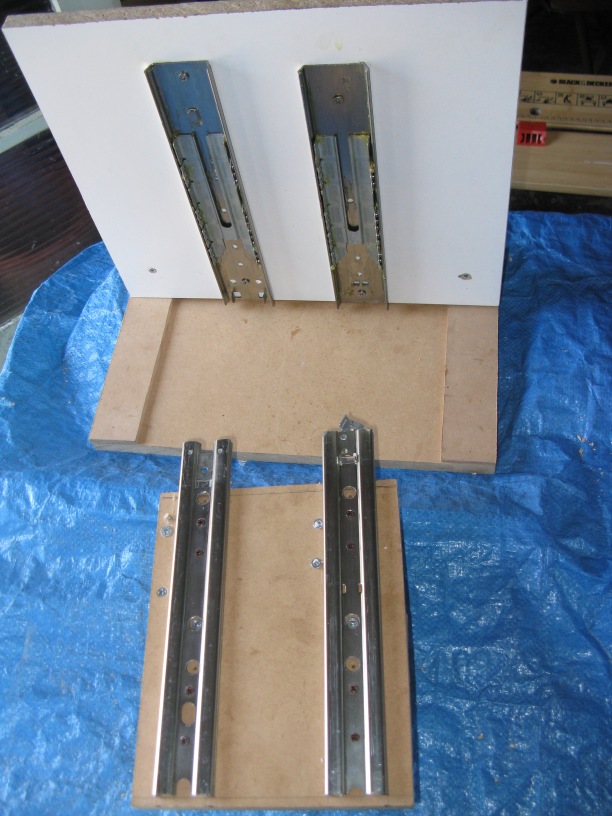
- Rack mount server rail (Cut in half) from an old Dell server – this provides the slide mechanism
- A bunch of wood screws I had in my collection
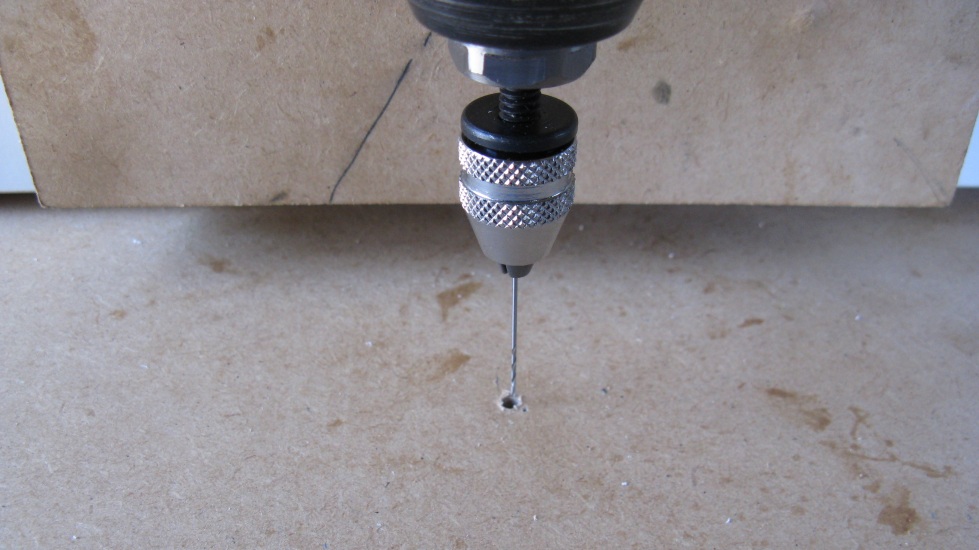
- Mini chuck (This was the only thing I had to purchase – TradeMe $17NZD inc P&P )
- Short tension coil spring from a box of bit’n’pieces
Tools Used
- Table saw
- Hand saw
- Hack saw
- battery drill
- Screw drivers
- Google sketchup
That’s it! ~75 tiny holes later and no bent or broken drill bits! It’s nice and accurate but very loud!
Thanks for reading.


