Resin Cast Project Enclosure
Project boxes available off the shelf always seem to be just too small or way too big! This is especially true here in New Zealand where the options between JayCar and SurplusTronics are fairly limited. I needed a specific size to house a project I’m working on so I decided to cast my own in Polyester Resin
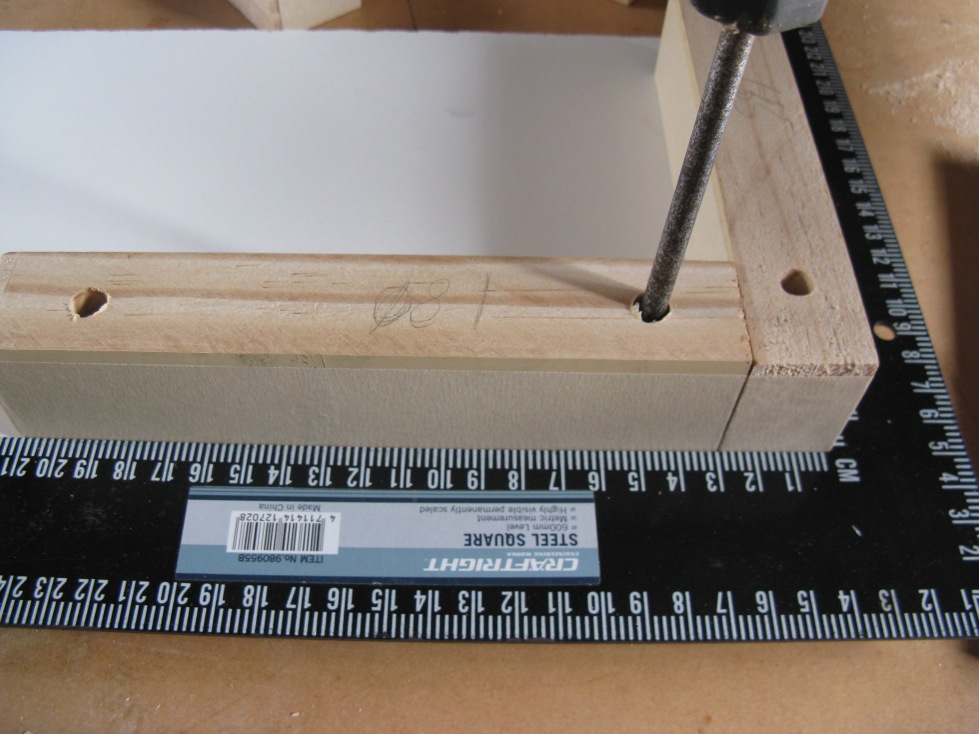
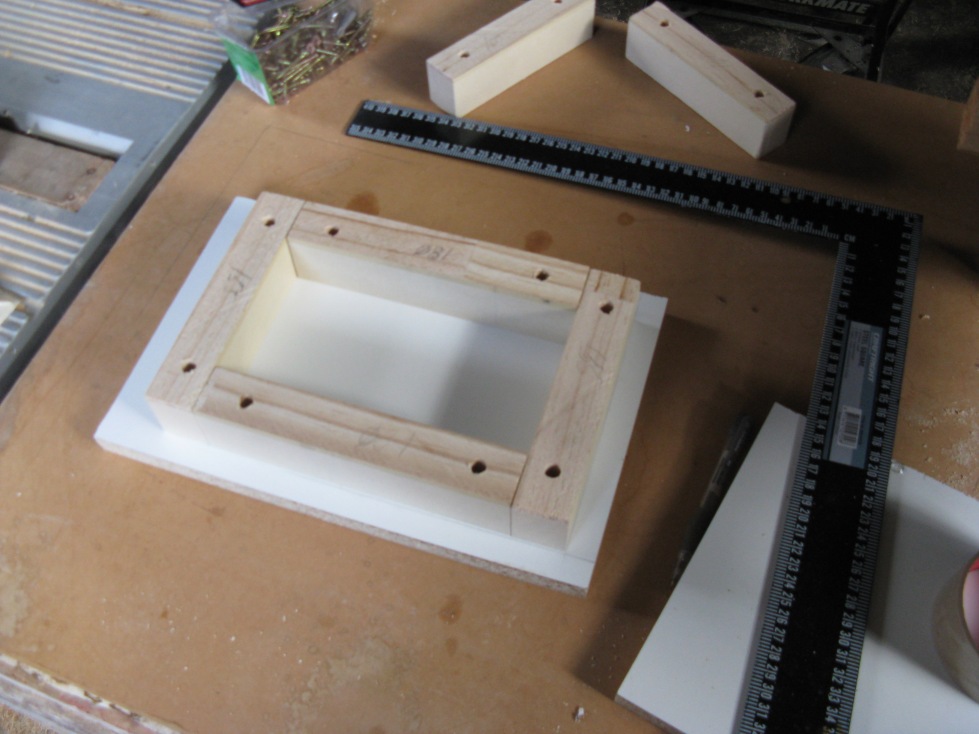
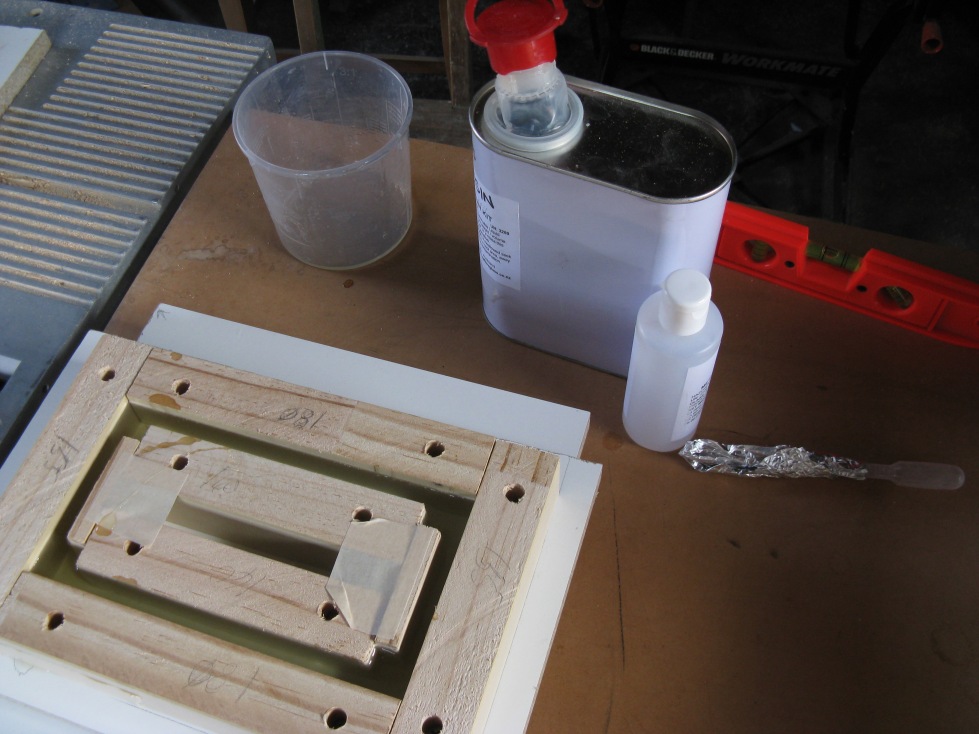
Draw up a design – I used Google Sketch up. Make a box of which the inner dimensions represent the outer dimensions of your final enclosure. I used blocks of pre-dressed pine. You’ll want to use something reasonably solid and screw it down to a base board so you get nice square vertical sides. For a base I used melamine board – it’s nice and smooth and the resin won’t bond to it. Your local kitchen builder will give you off cuts for free if they’re nice.
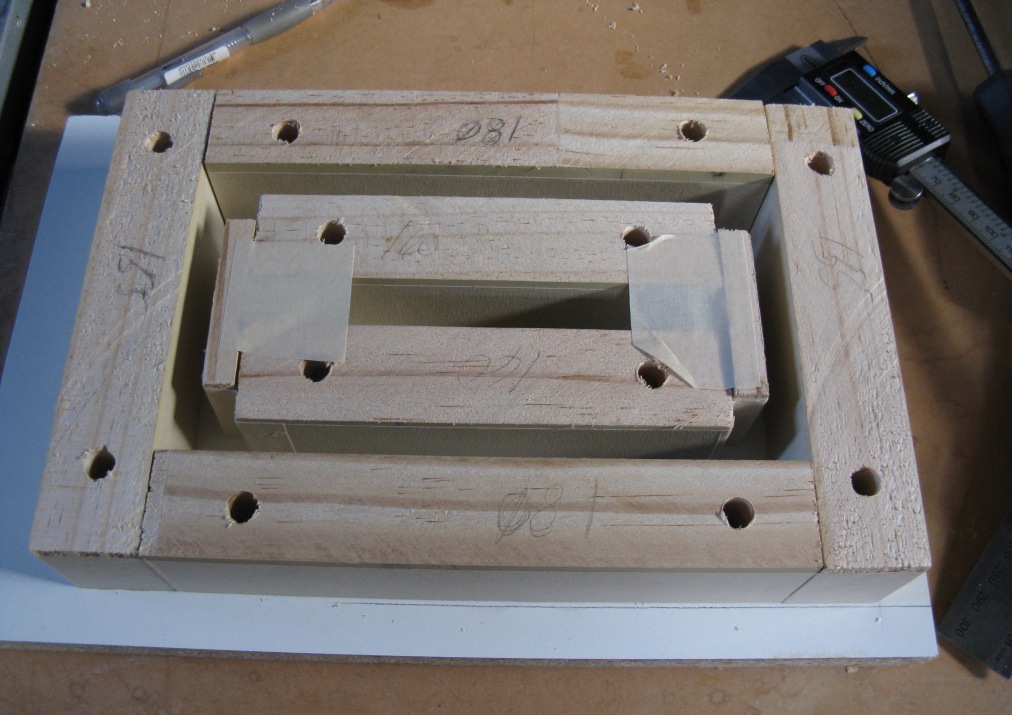
Wrap the blocks with masking tape. This provides three benefits:
- The waxy surface of the tape acts as a barrier between the wood the resin and makes de-molding easier
- It creates a nice flat surface to mold against
- Reduces the chance the resin leaking out because it forms a seal as the blocks are pressed together then screwed down
Put a mark on the side of at least one of the walls to indicate the height of the enclosure, this is where you will pour the resin up to.
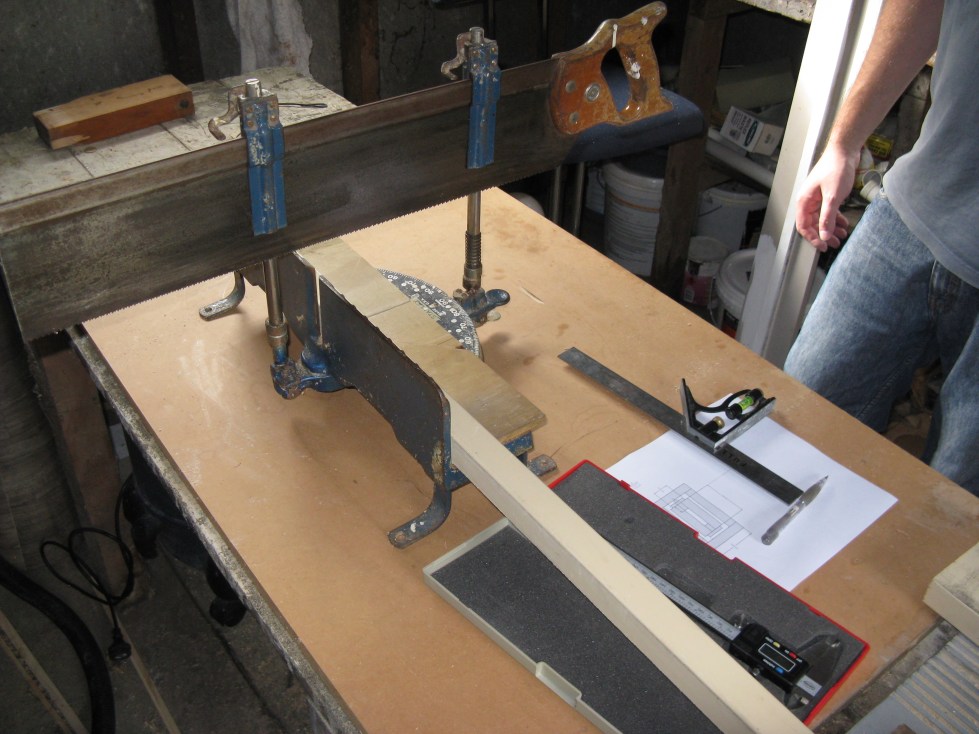
Accuracy when cutting the wood is important if you want a professional looking result. Decide on a tolerance and stick to it. If you cut a length and it’s not within tolerance then re-do it. If you don’t, you’re sure to be disappointed with the end result. Resist the “She’ll be right” temptation – it won’t be right! Errors are amplified at each stage of the process. I worked to 0.5mm. For me this was an excellent practice exercise in hand-saw and measuring accuracy.
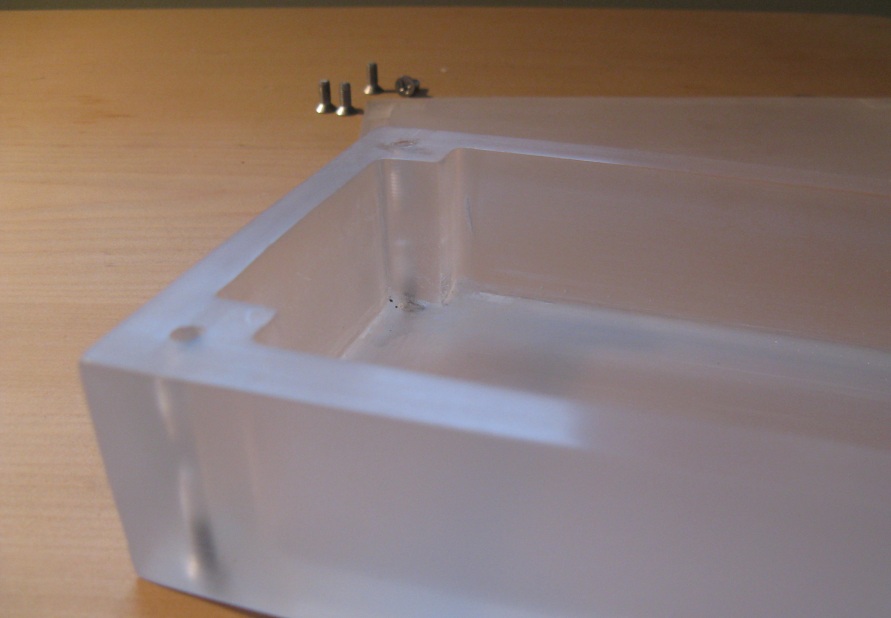
Make a shape of which the outer dimensions will represent the inner dimensions of your finished enclosure. This is where you decide on the thickness of the enclosure walls. I made over-sized corners so that I had solid pillars to screw into.
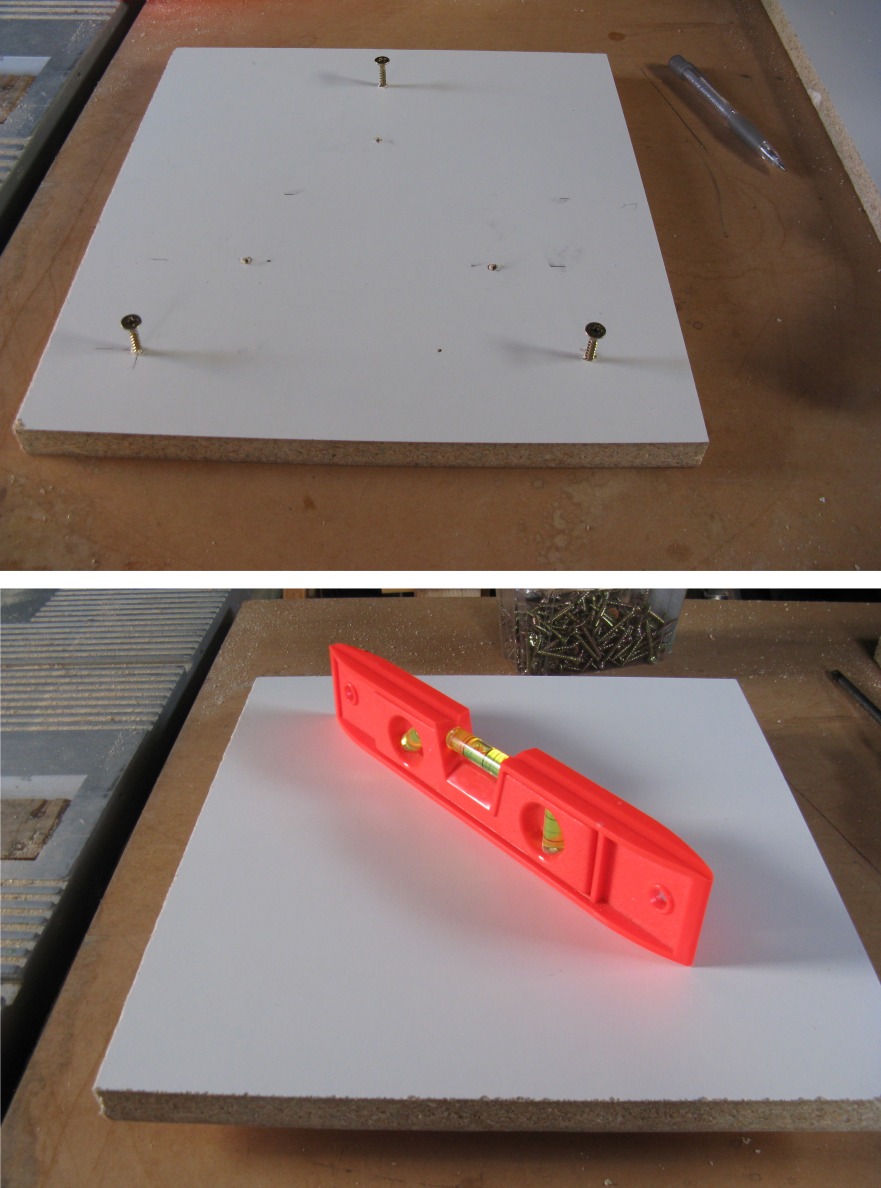
Unless you’ve got a dead level work bench you’ll probably need to set up a little platform that you can level off with screws – like this:
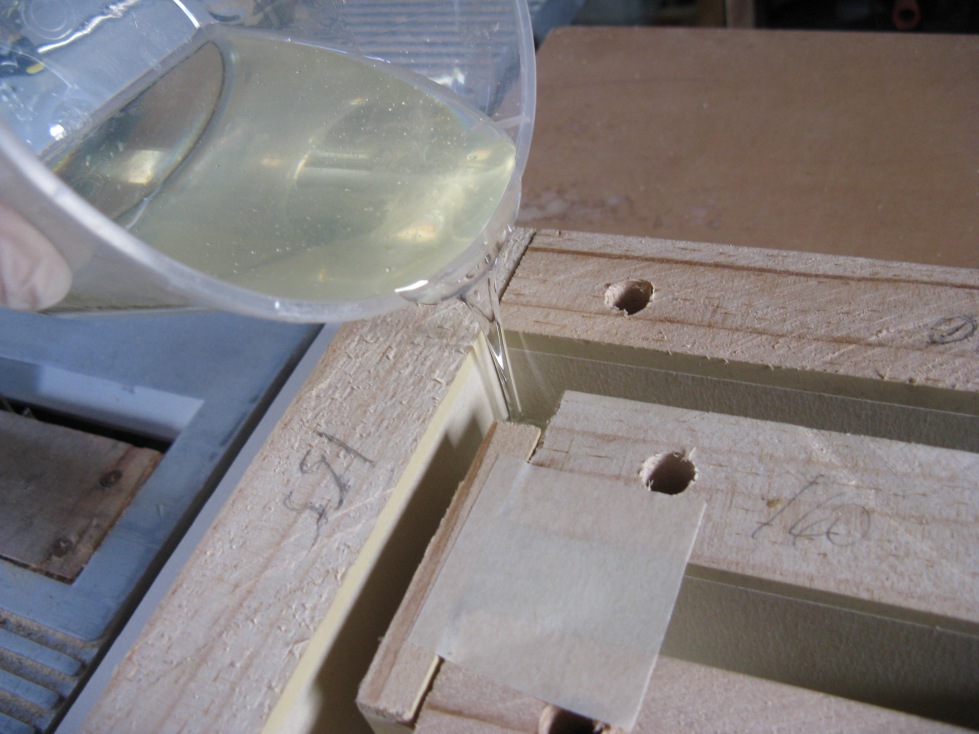
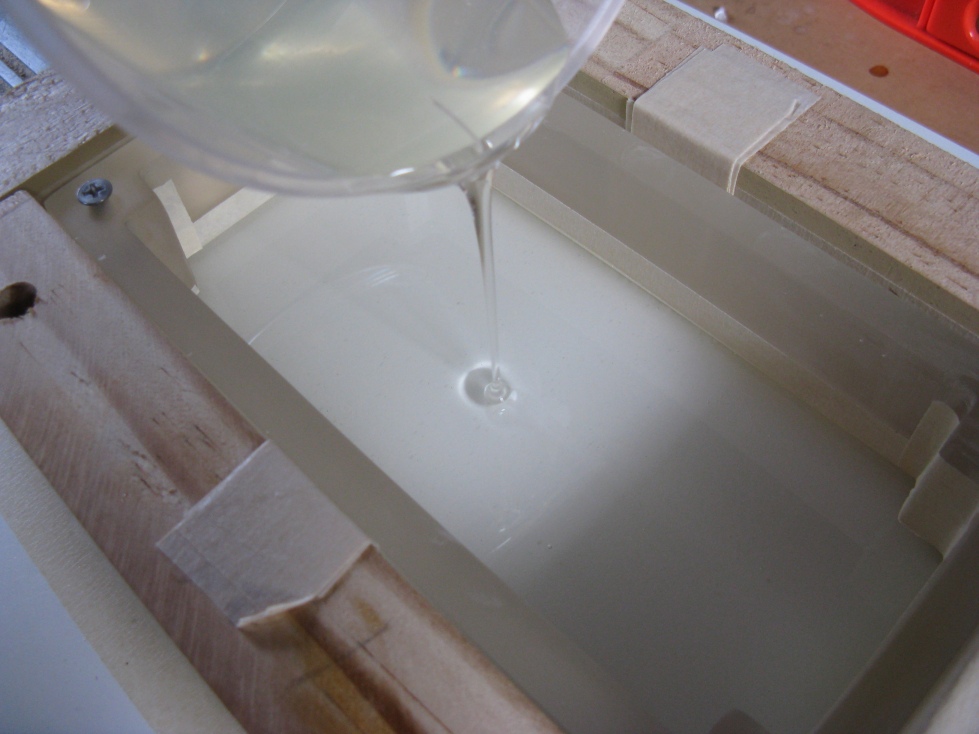
Mix up some resin and pour it into the mold up to the height you marked. Mix the resin and MEKP as per the instructions. I mixed towards the higher end of the 1%-2% ratio, about 1.7%. And please be careful with the MEKP. Don’t even think of going near it without eye protection and gloves. MEKP is a severe skin irritant and can cause progressive corrosive damage or blindness.
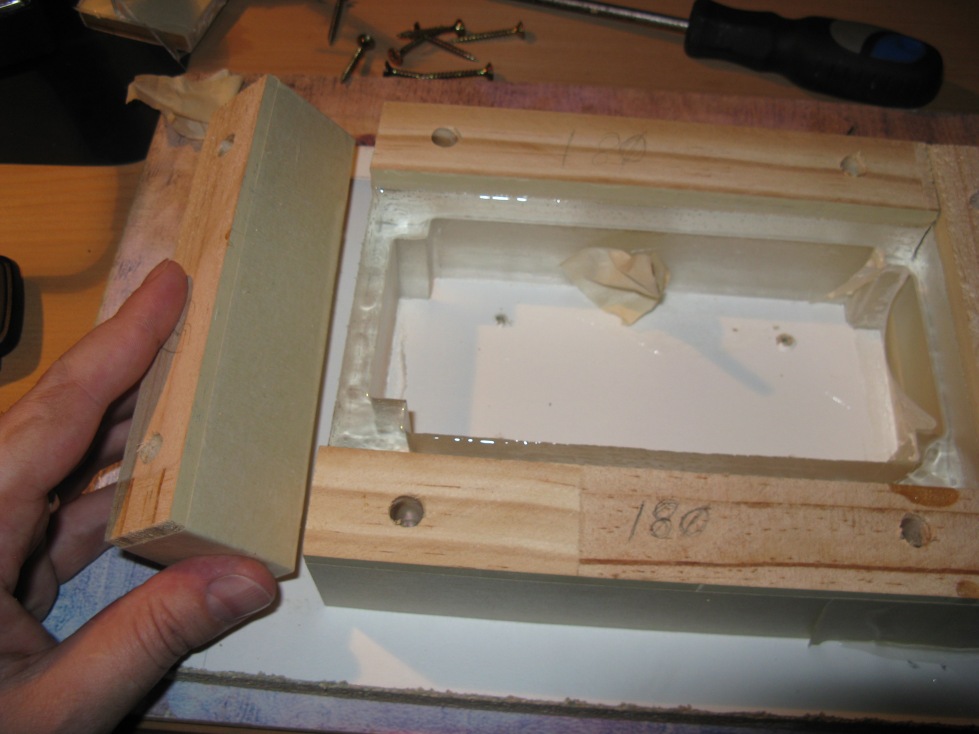
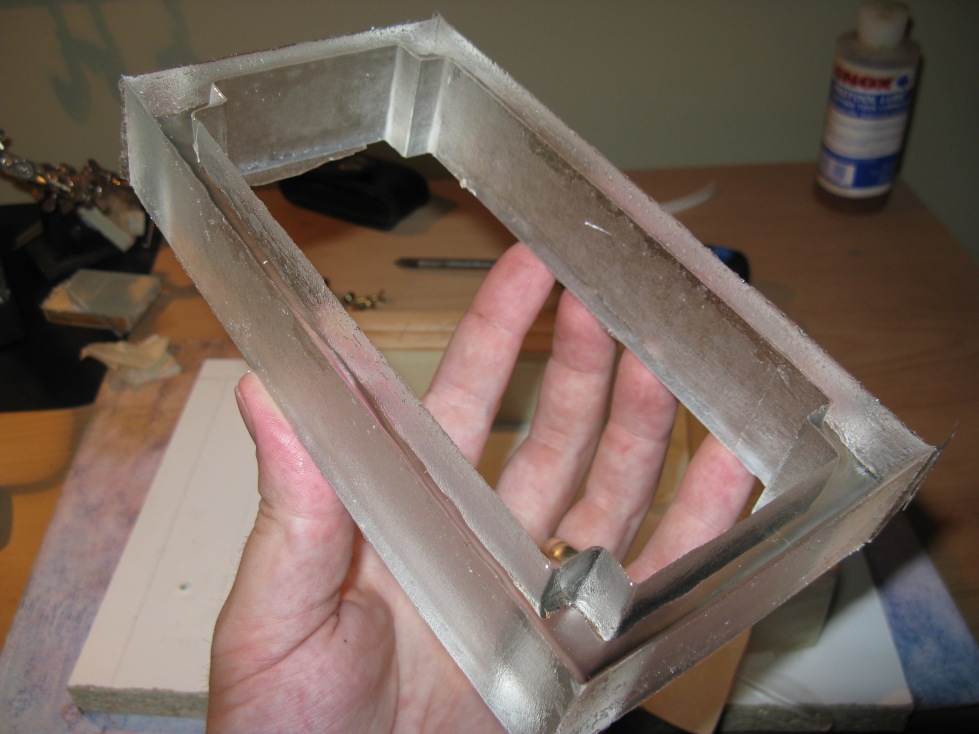
Now the fun bit. After a few hours the resin will be hard enough to remove it from the mold. Unscrew and remove the inner blocks and as many outer blocks as you need to get the enclosure out.
It will be a bit hard to get out because the resin shrinks a little bit as it cures. It will probably also still be a bit sticky when it comes out.
Now on to the top and bottom sections. You could just cut some flat plexi-glass for this but while we’re at it we might as well just cast them. Clean up the enclosure with sand paper. I used wet/dry from 120 grit up to 400.
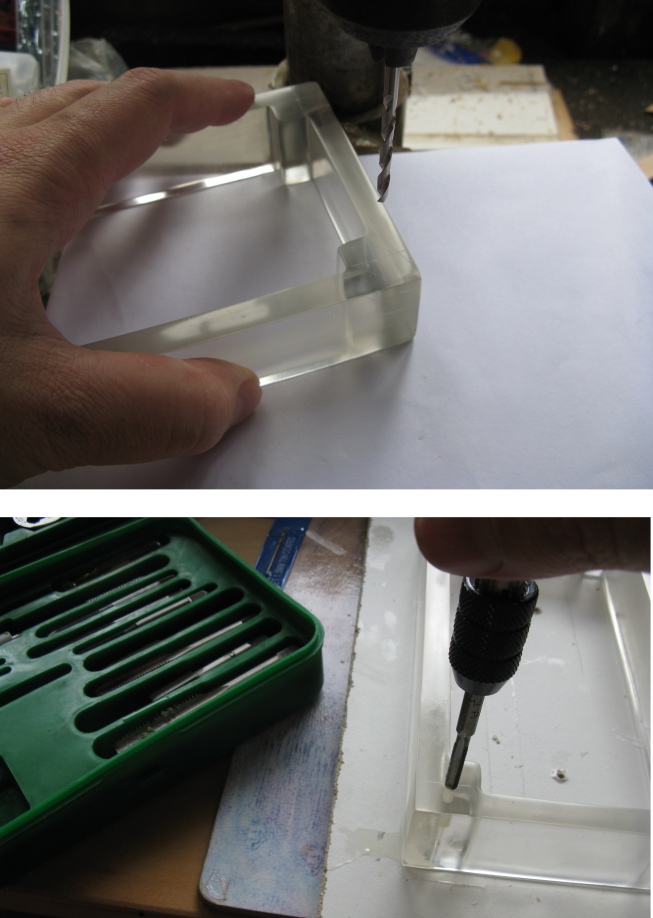
Drill and tap the corners.
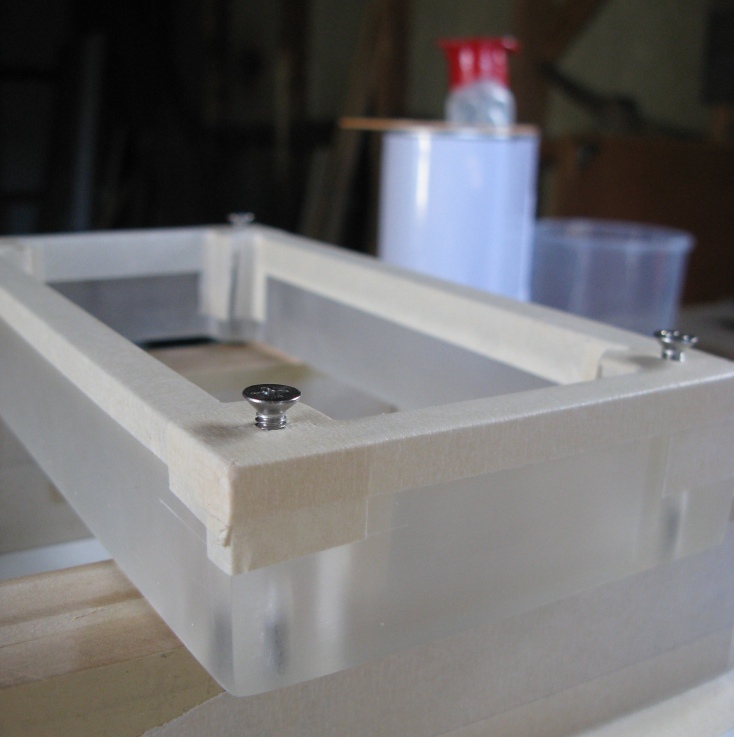
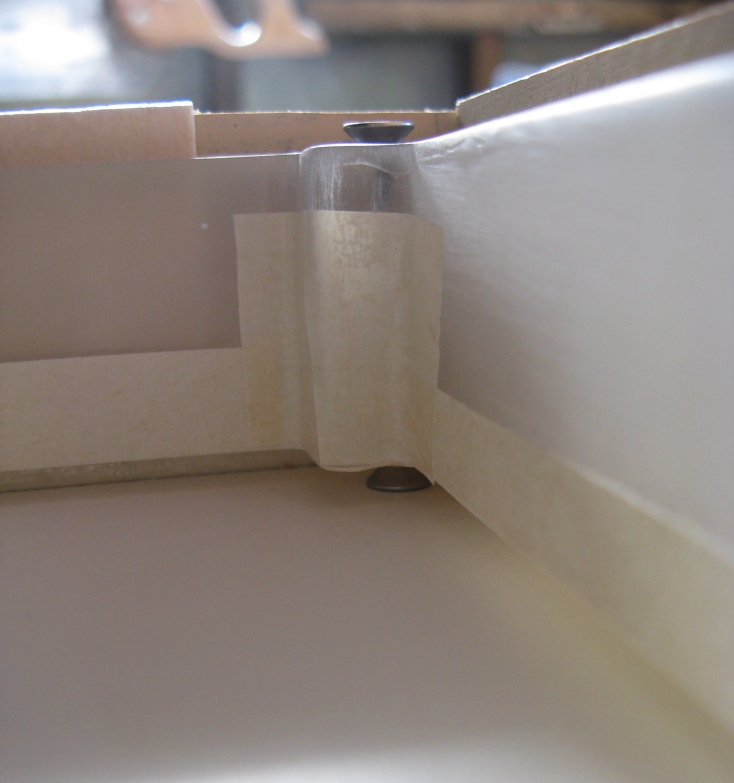
Use making tape to mask off the areas where the resin will touch. Screw in 4 countersunk lid screws leaving them out to the height you want the thickness of top lid to be (I made mine 4mm). Make sure they are all exactly the same height.
Reassemble the outer box of the mold on a new piece of melamine and place the enclosure back in, screws down. The enclosure will have shrunk since it was last in the mold so use multiple layers of masking tape as packers to center it (use an even number of layers on each opposing side).
Make sure your platform is dead level and pour the resin into the mold so it just comes up over the sides of the enclosure. This will make a locking lip on the lid.
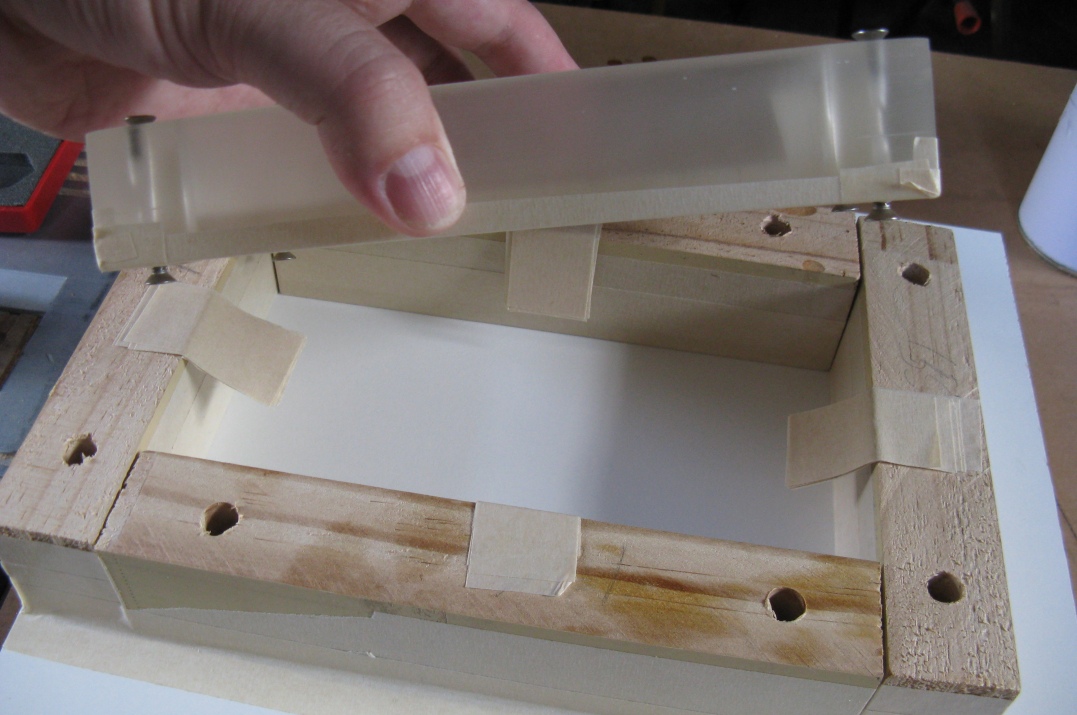
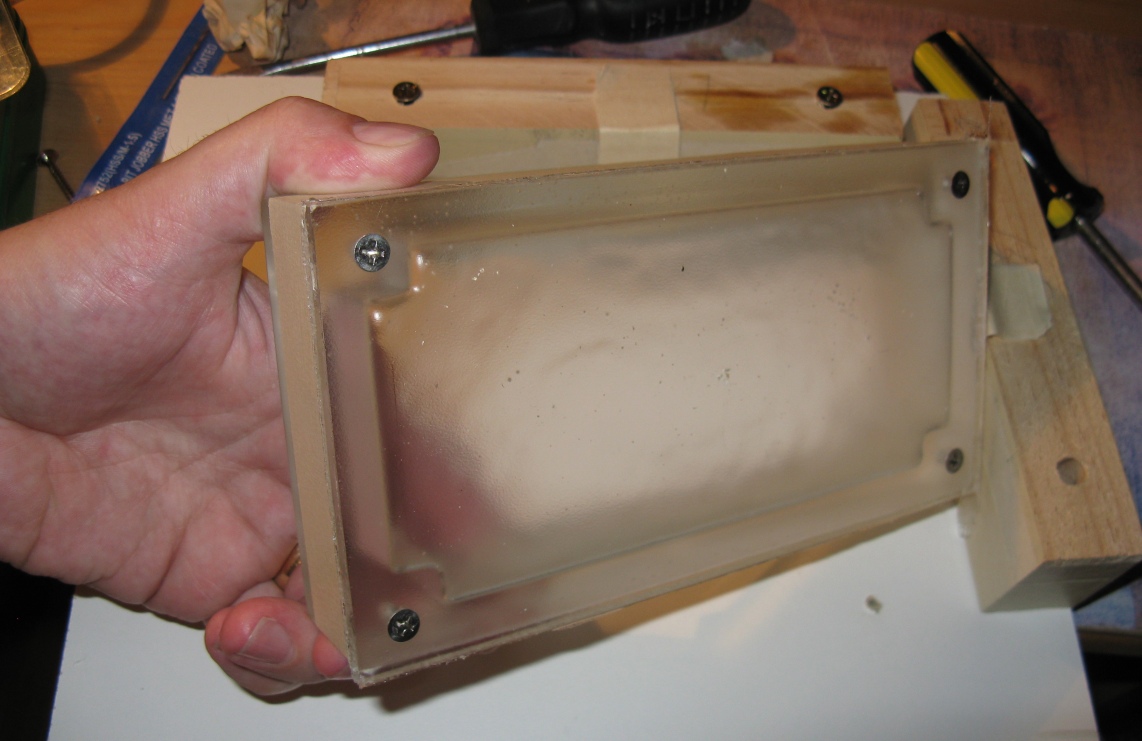
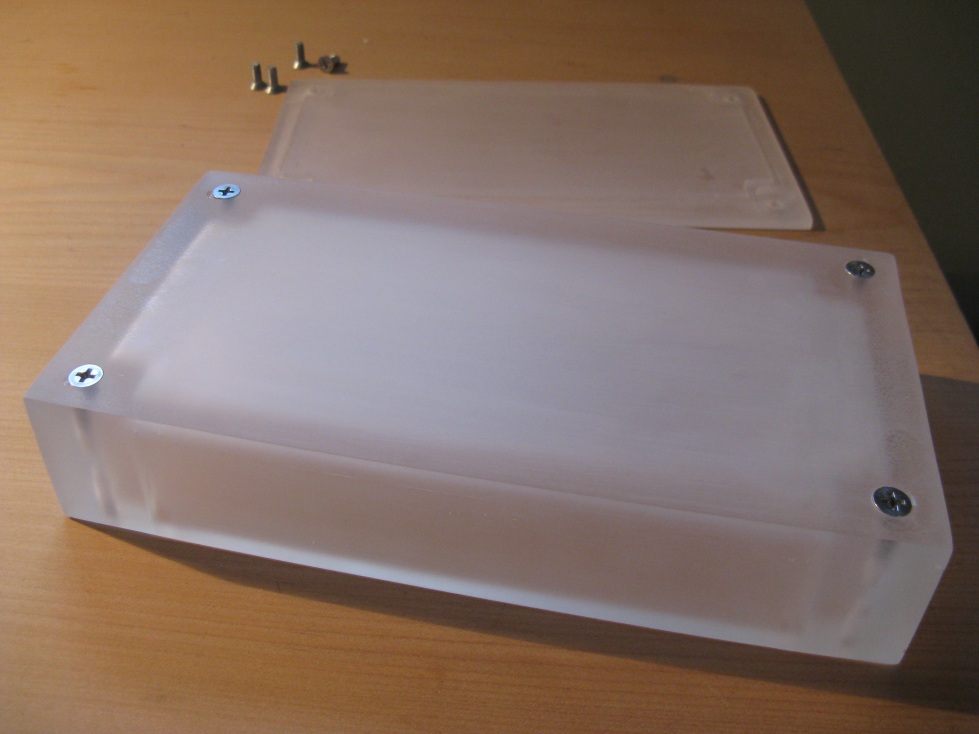
After a few hours you can de-mold the box with lid attached. It will be stuck to the board but just slowly ease it away, you almost have to peel it up. Don’t try to knock or tap it. With a bit of luck you’ll be able to remove the screws from lid and take the lid off without too much difficulty. Making the lid this way takes care of the screw holes and countersinking.
Now repeat the process for bottom lid. For the bottom I didn’t mask it off because I wanted it sealed on – I don’t need to remove it. I also made it a bit thicker so it’s nice and solid for mounting to.
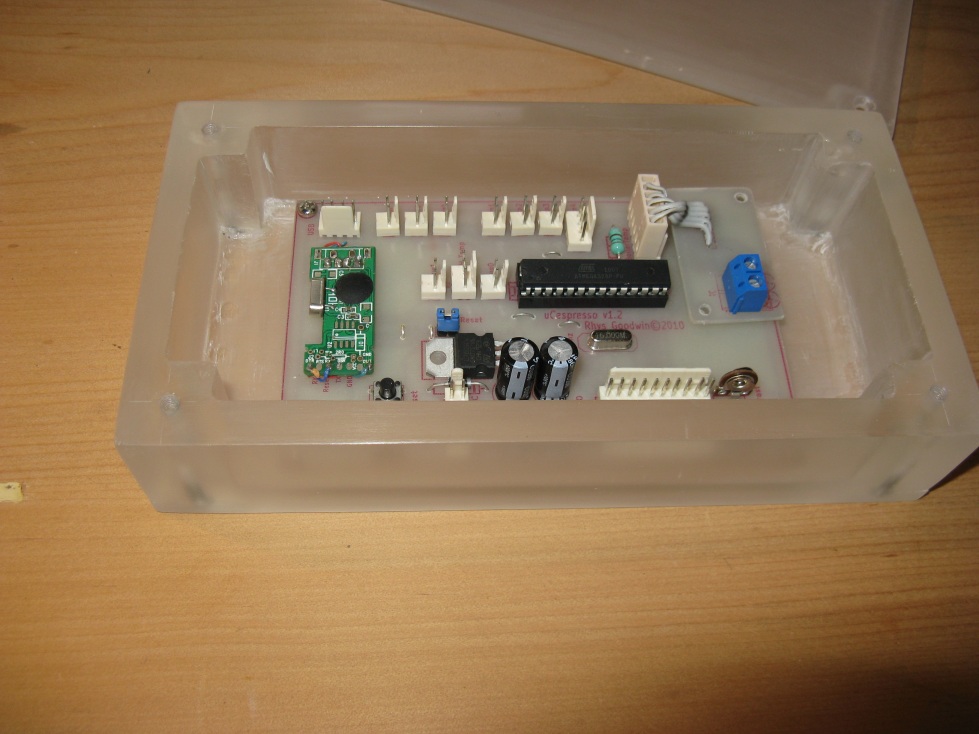
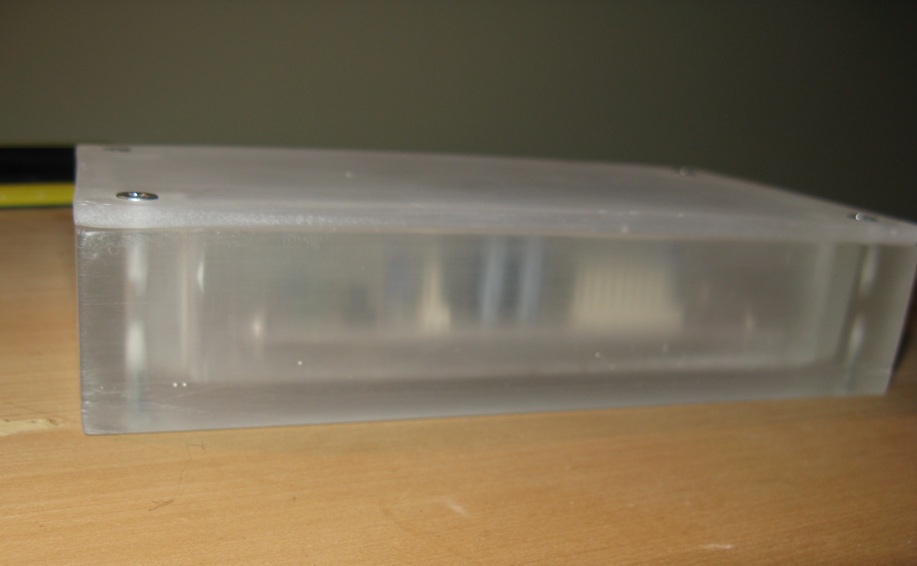
Once you’re all done you can sand/polish the enclosure as much or as little as you like. I left it with a frosted look but you could shine it up to be completely transparent if you wanted. I also removed the thread from the holes in the lid.
Well that’s quite a process! But the result is good and it’s good practice for accuracy, woodwork and resin casting. I tried a number of methods before I came up this and it’s by no means perfected – as always I’m keen to hear your ideas.
