Milling Machine Bench and Workshop Update
I’ve recently acquired a couple of significant additions to my workshop so I thought it was about time I did a workshop update post.
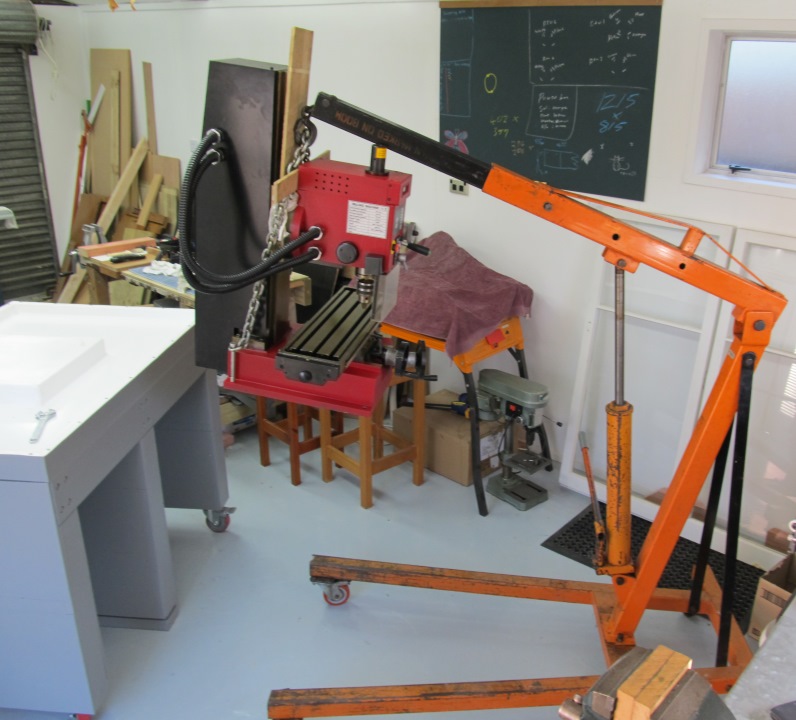
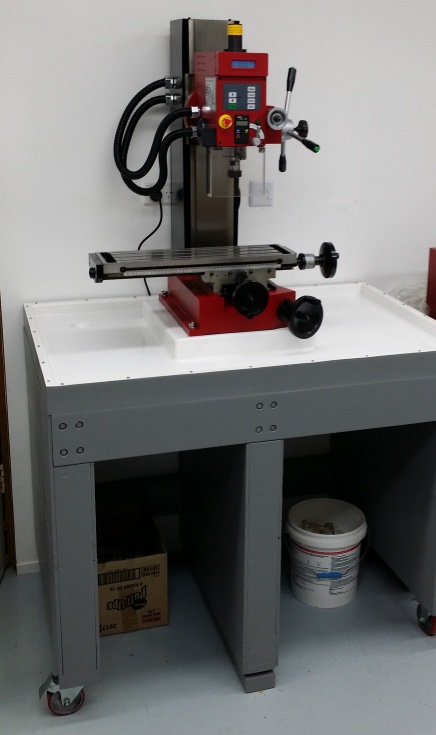
These two new additions are one Sieg SC4 metal lathe and one Sieg SX3 milling machine. The latter of these two weighs 165Kg (363lb). I didn’t like the idea of having to move this machine more than once so I thought it was appropriate to build a sturdy bench on castors which I could put the machine straight onto upon receipt.
The SX3 Mill is also sold is a Grizzly G0619

I got these machines through Sieg Machines New Zealand. They stock and source a wide range of machines and accessories. Chris the owner has been very helpful. Check them out at www.sieg-machines.co.nz
As with most of my projects, the bench ended up being needlessly over engineered! I conclude that I have Inceptionitus. I.e. ‘Once an idea has taken hold of the brain it’s almost impossible to eradicate’.
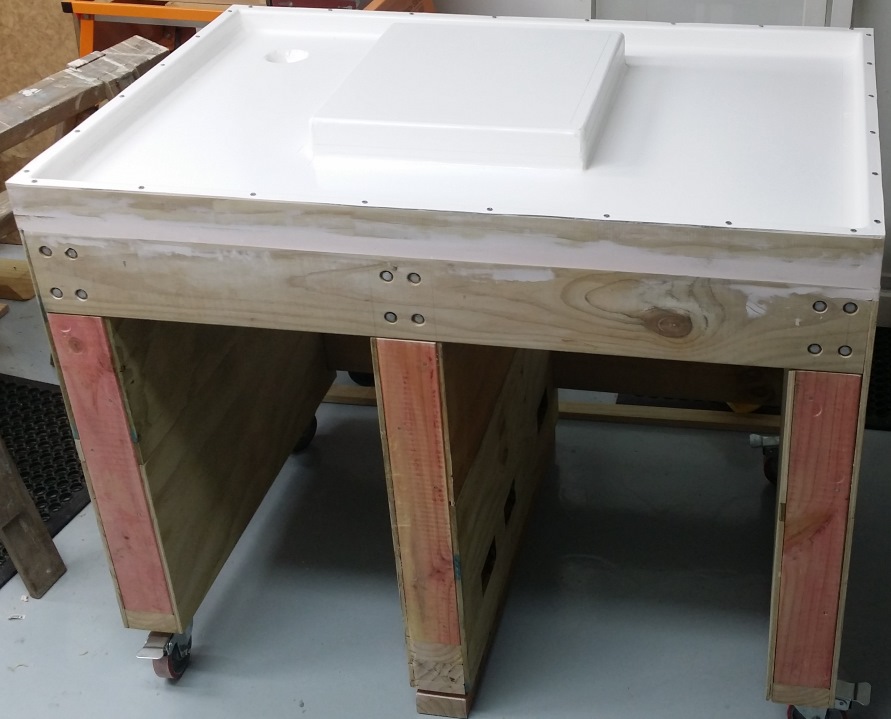
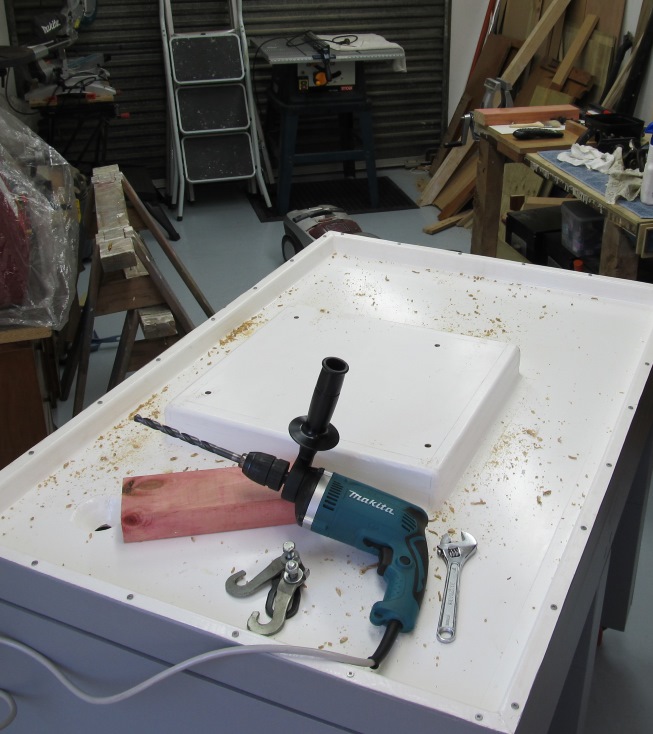
In this case the idea stemmed from the thought that eventually I would convert this milling machine to CNC therefore I’d want a way to contain swarf and cooling fluid. Initially I considered forming a tray using some kind of rubber lining like butyl rubber membrane, but I was concerned about chemical resistance. Then it occurred to me that a moulded fibreglass tray would be a ‘simple’ solution to the problem. And that was it, the idea had taken hold. Of course it’s much easier to conceive an idea than to complete a project! Let’s begin…
First step – Get the dimensions of the machine and create designs in Sketch-up.
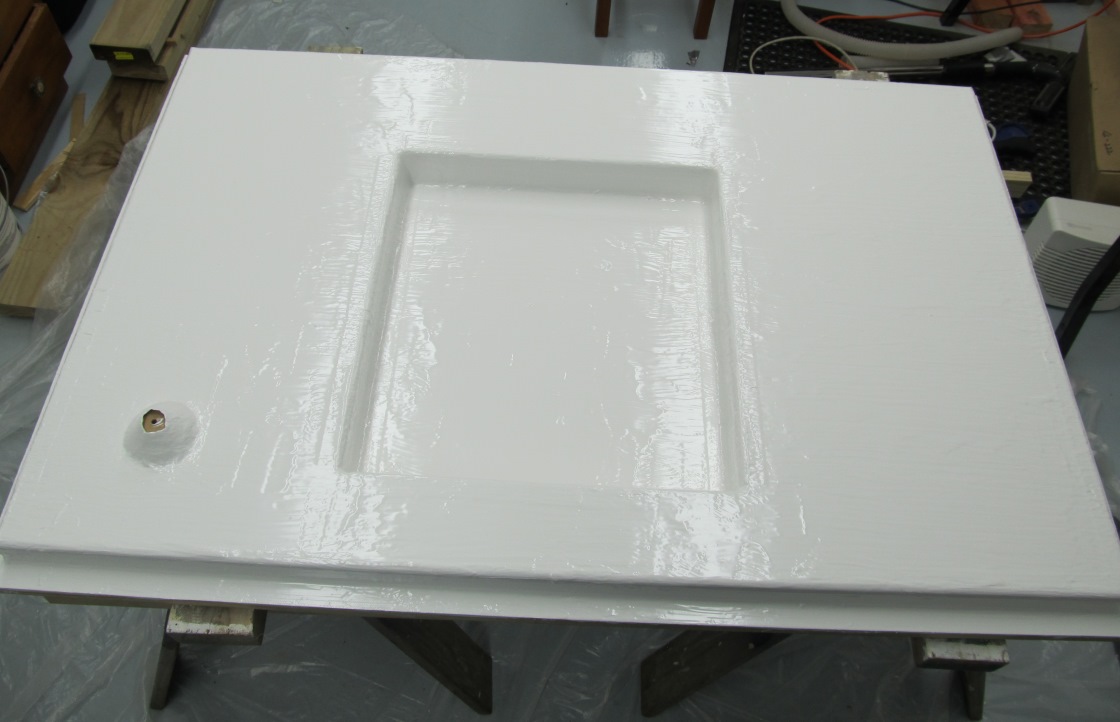
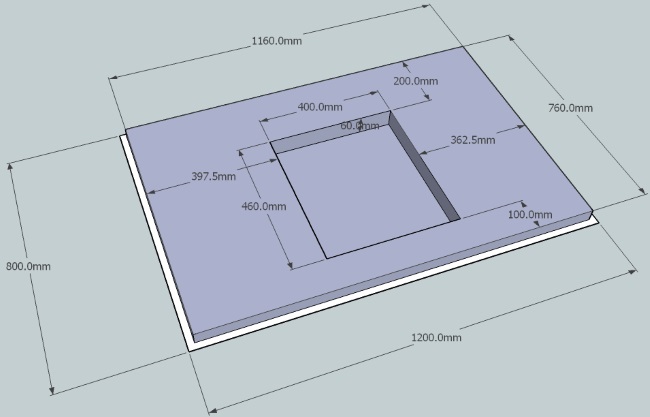 Mould design for the fibreglass tray (Inverse of the final product)
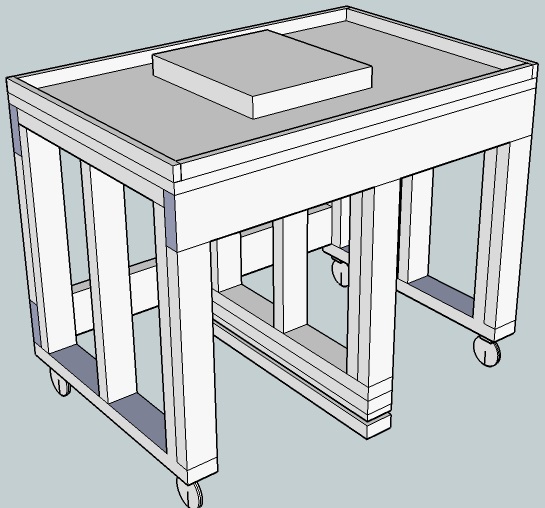 Overall bench design
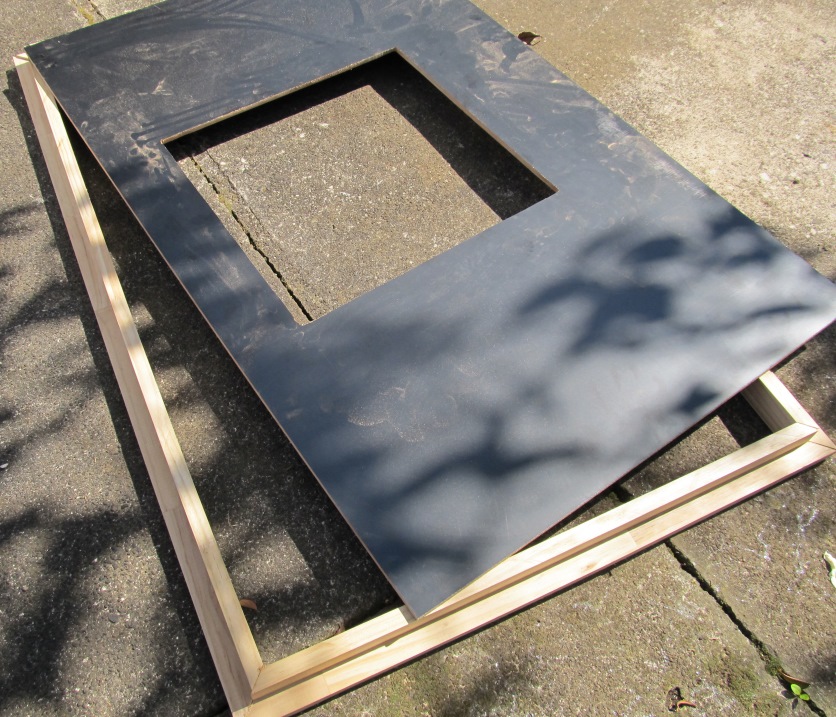
I decided to make the fibreglass tray first so that I could adjust the bench design to accommodate for any inaccuracies in the fibreglass which once set can’t be adjusted.
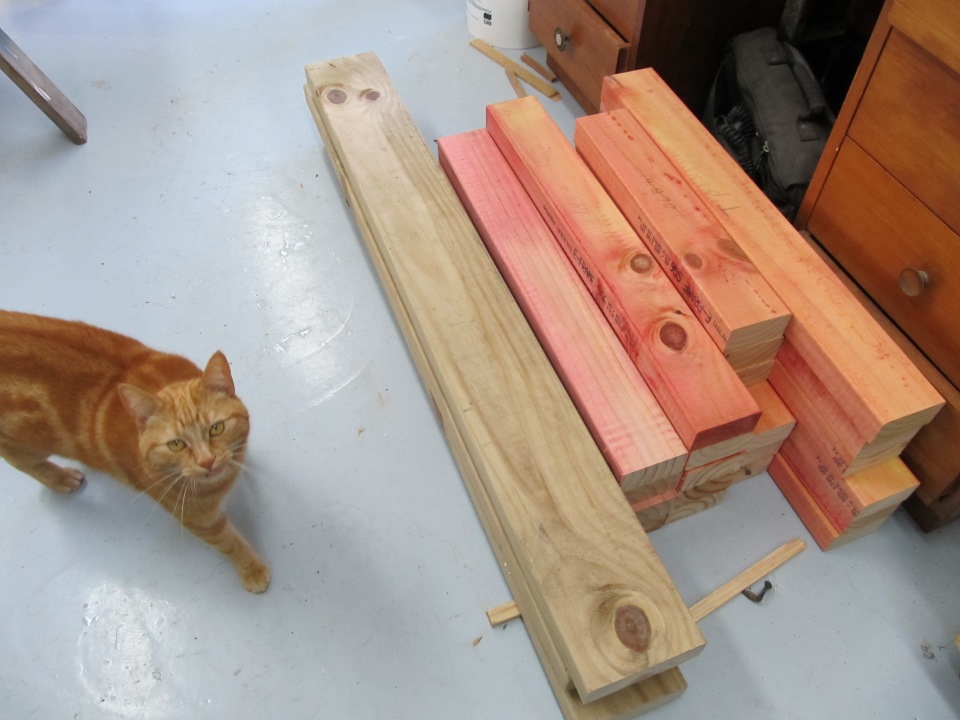
The mould was made from:
- 9mm melamine board
- Scraps of cupboard door chipboard laminate
- 20×45 Pine cavity batten
- Plasticine
- Duct tape
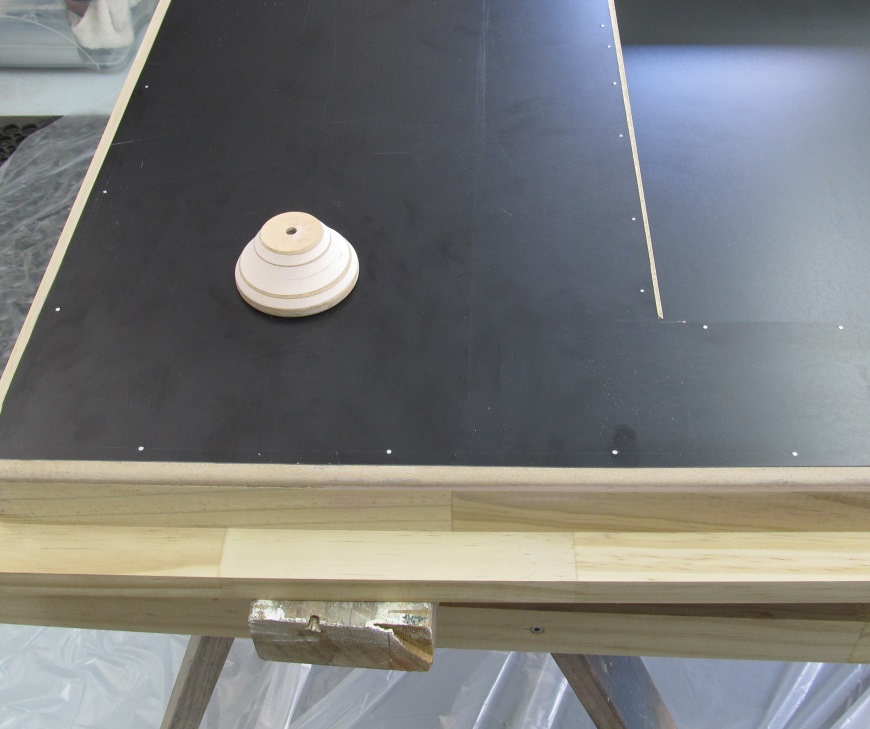
- Polyester builders/auto filler
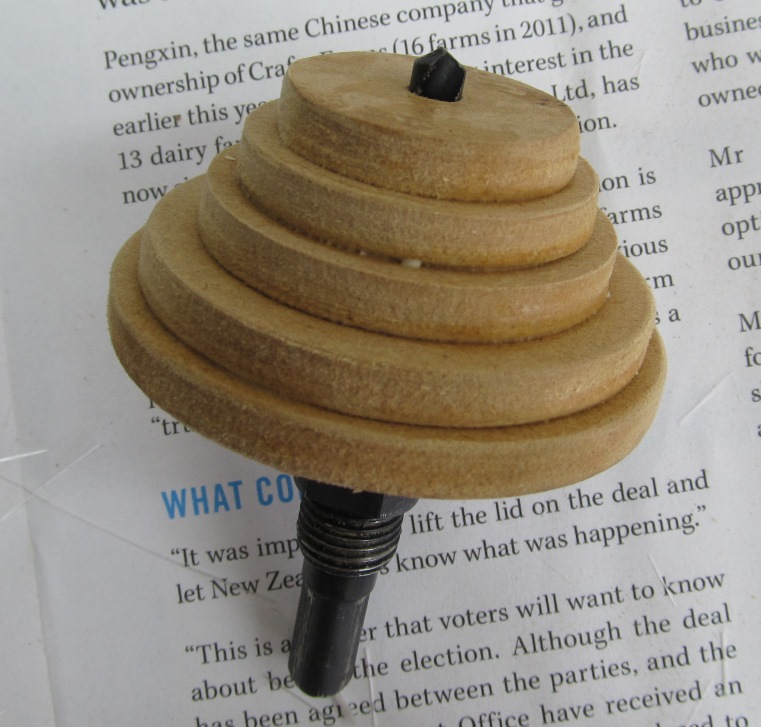
- 6mm MDF
This was a stupid way to make the drain hole. If I did it again I’d use the top section of a soft drink bottle or similar.
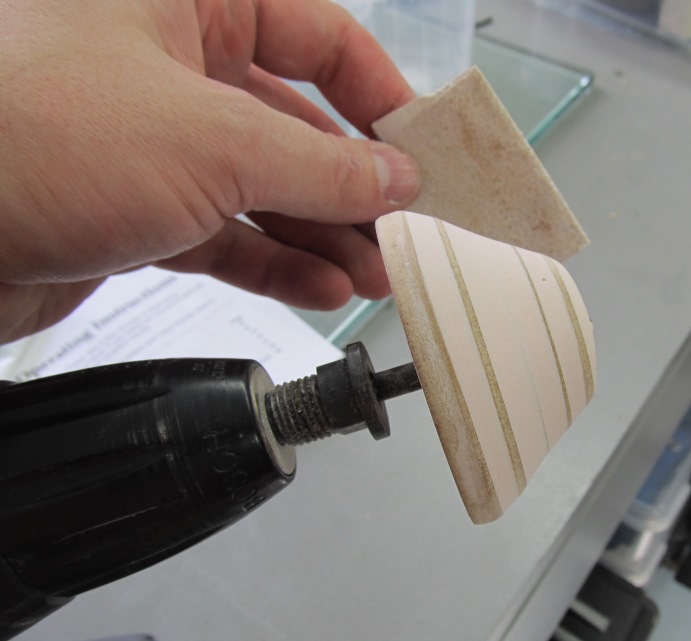
I did a few test pieces of fibreglass to get a feel for the gelcoat which I hadn’t used before. And to work out the best tape to use. I found that the resin sticks least to the duct tape. Masking and packaging tape were also fine but the heat from the curing process made them wrinkle.
Plasticine is used in the corners to give a radius. Fibreglass doesn’t like bending at 90 degrees.
I put tape over the plasticine on the long stretches because it gives a nicer finish than the plasticine.
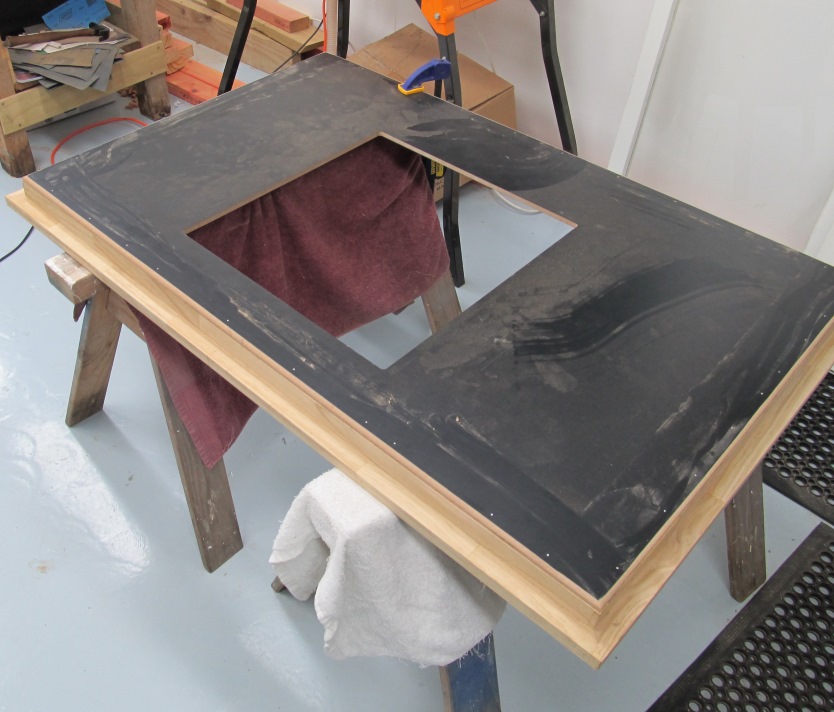
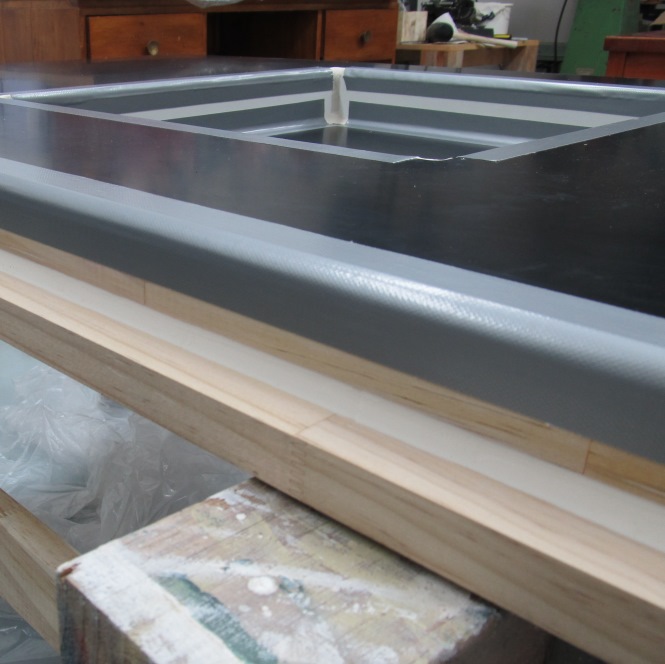
Two coats of gelcoat brushed on with a a couple of hours between coats and left to cure for a few hours.
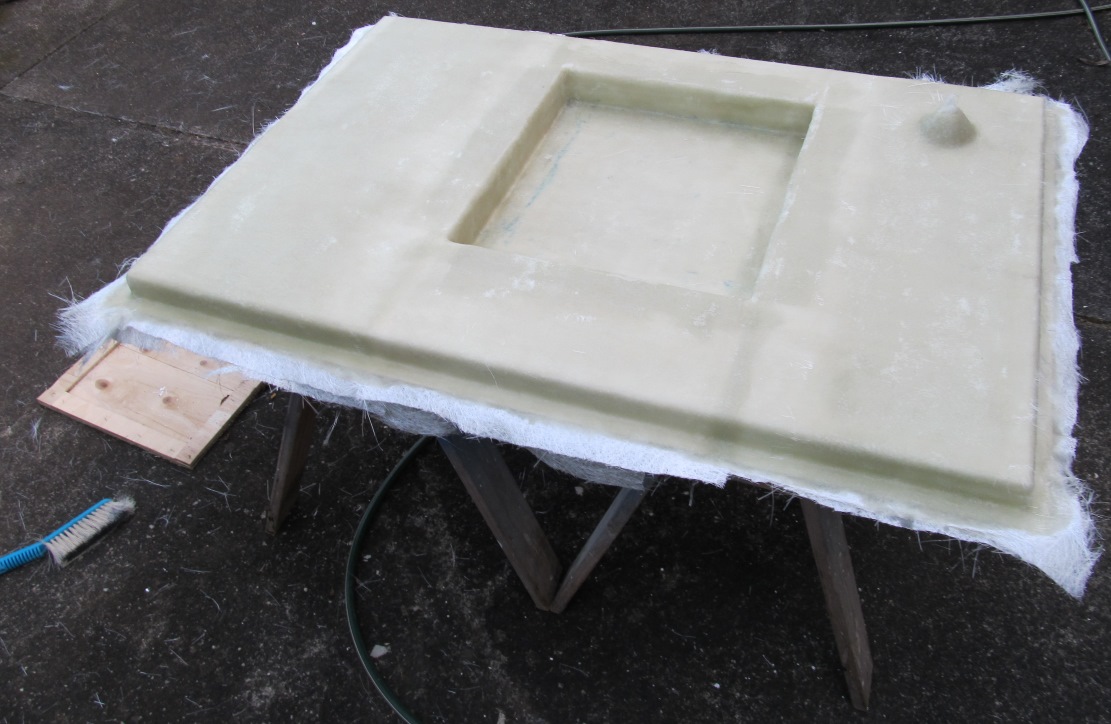
After the gelcoat I laid down a single thin layer of fibreglass re-enforcing with polyester resin and allowed it to fully cure and then sanded it. Doing this (as opposed to adding multiple layers straight away) significantly reduces the chance of getting air bubbles between the gelcoat and the fibreglass.
After this three more layers of resin and chopped-strand-mat reinforcing was added. I ended up with a few air pockets in these layers but nothing too major. Perhaps I should have let each layer to set up at least a little before adding the next.
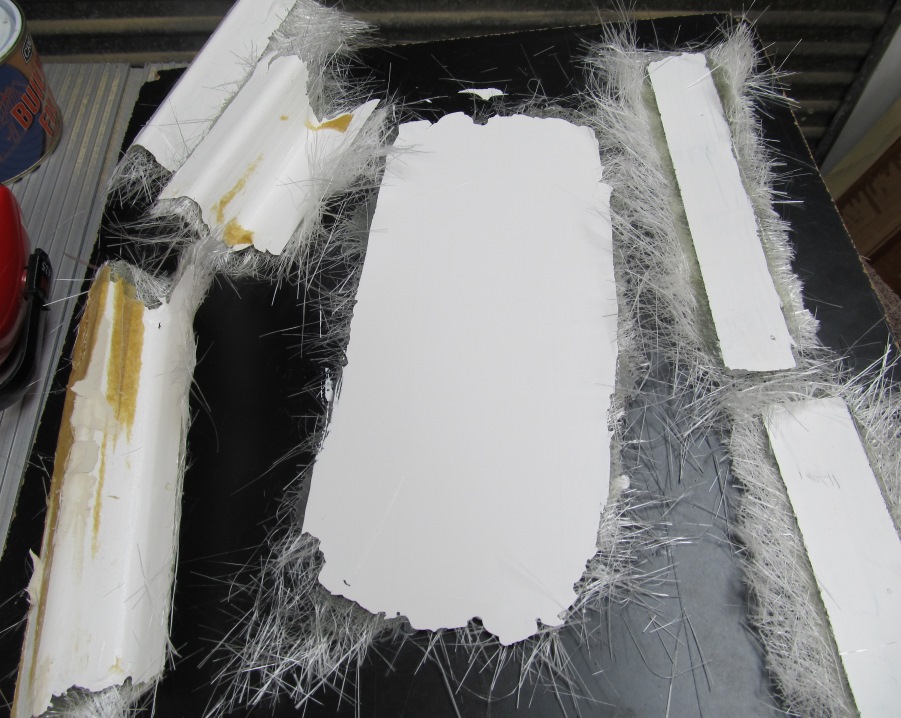
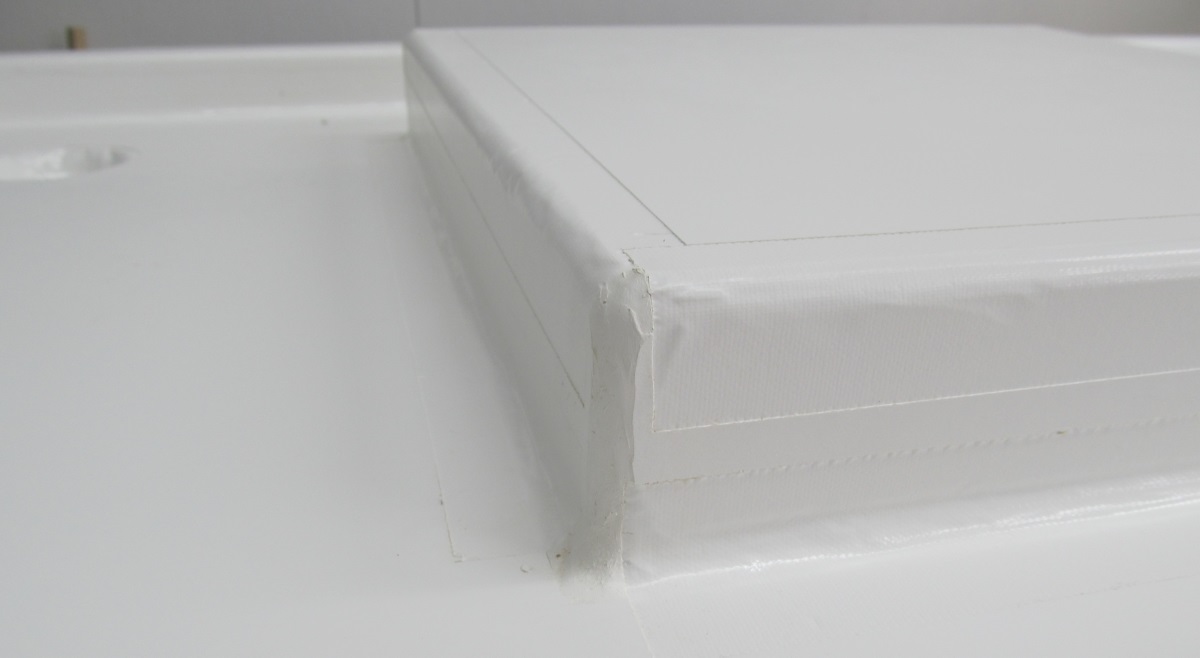
Edges cut flush with a diamond blade on the angle grinder then smoothed off with a normal disc.
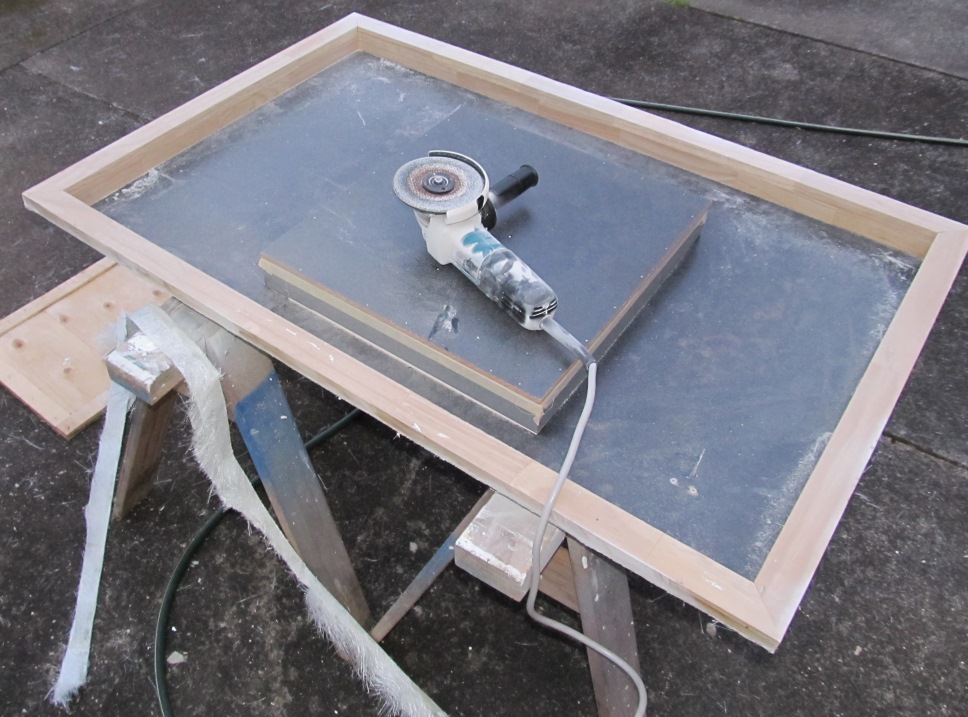
I naively thought I would be able to remove it from the mould without disassembly. Yeah right!

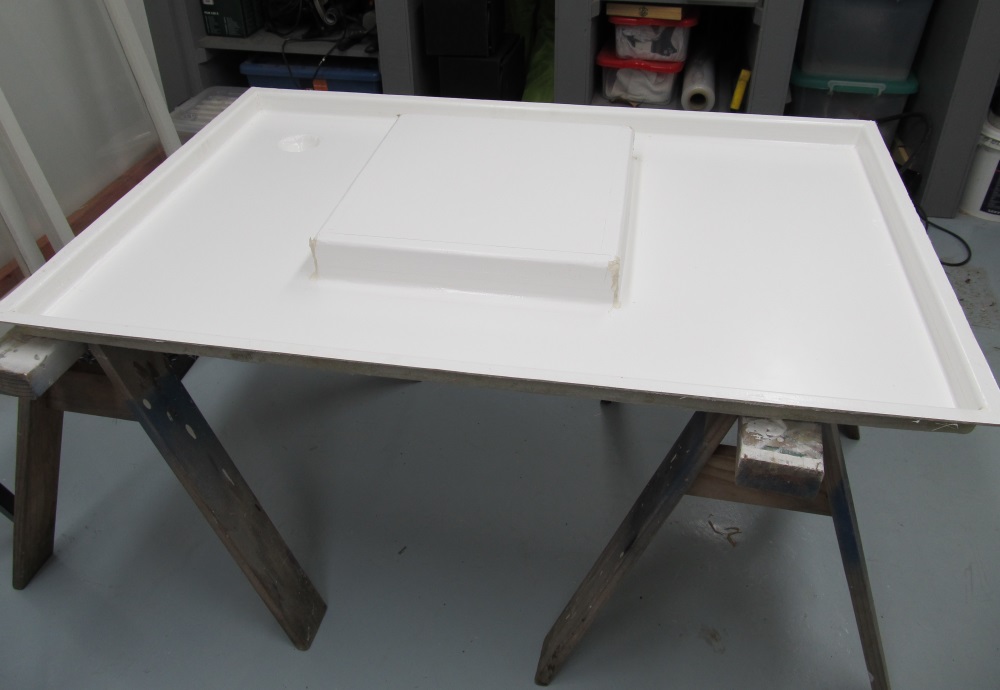
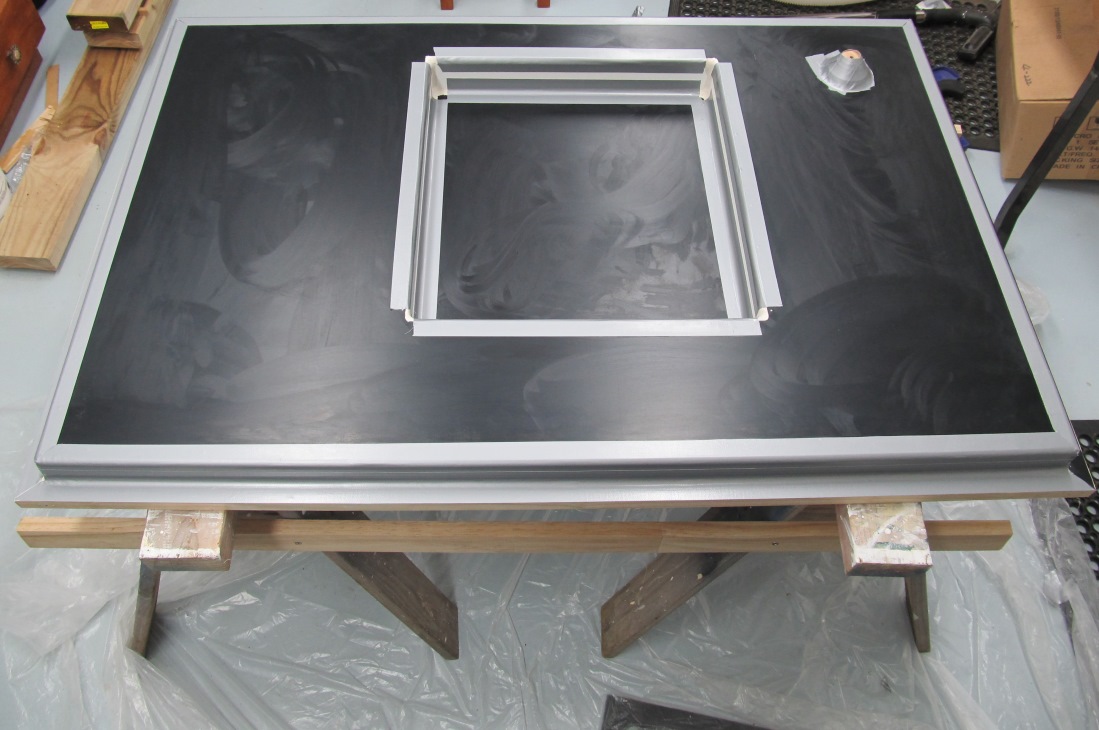
As expected there are lots of moulding artefacts but overall I’m very happy with it. Especially considering it was a fairly rushed job over one weekend and a few week nights.
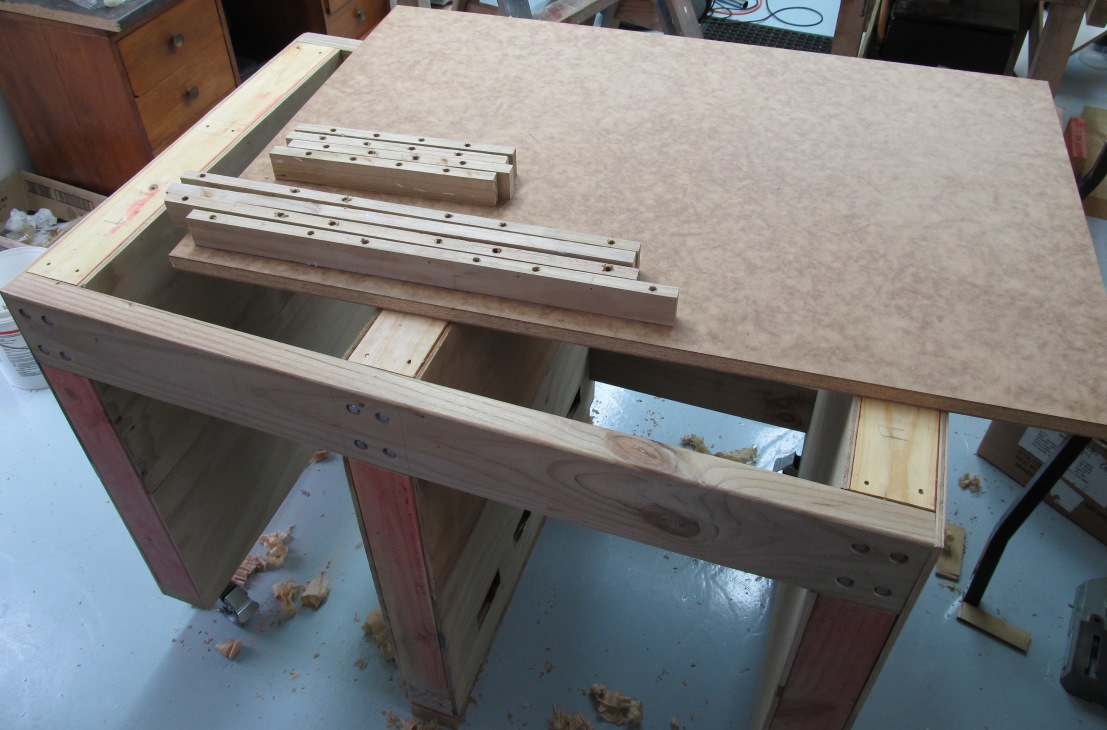
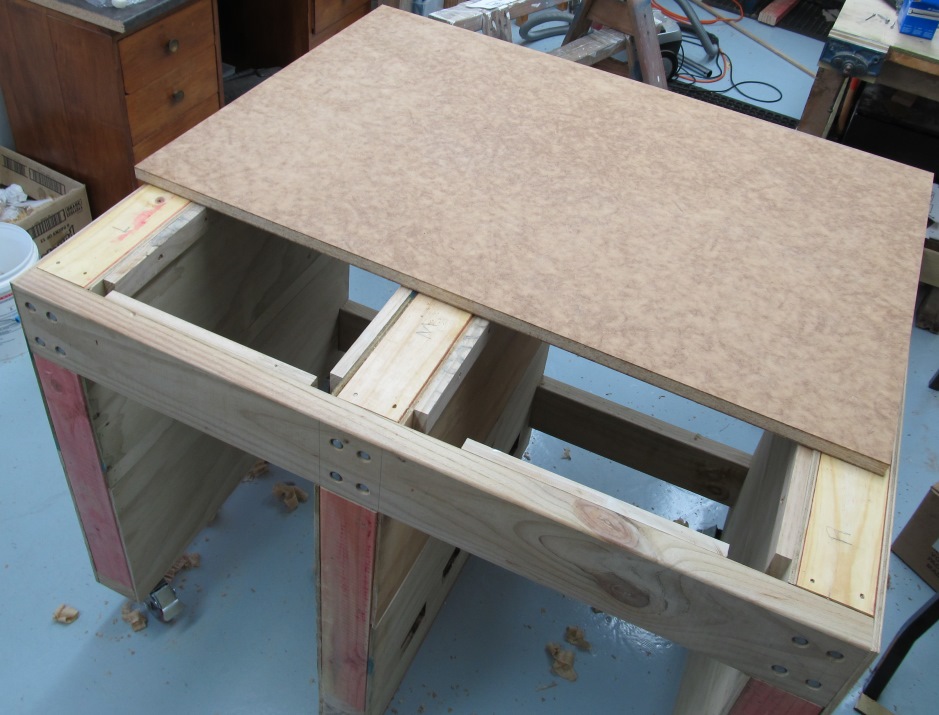
Now on to the bench itself…
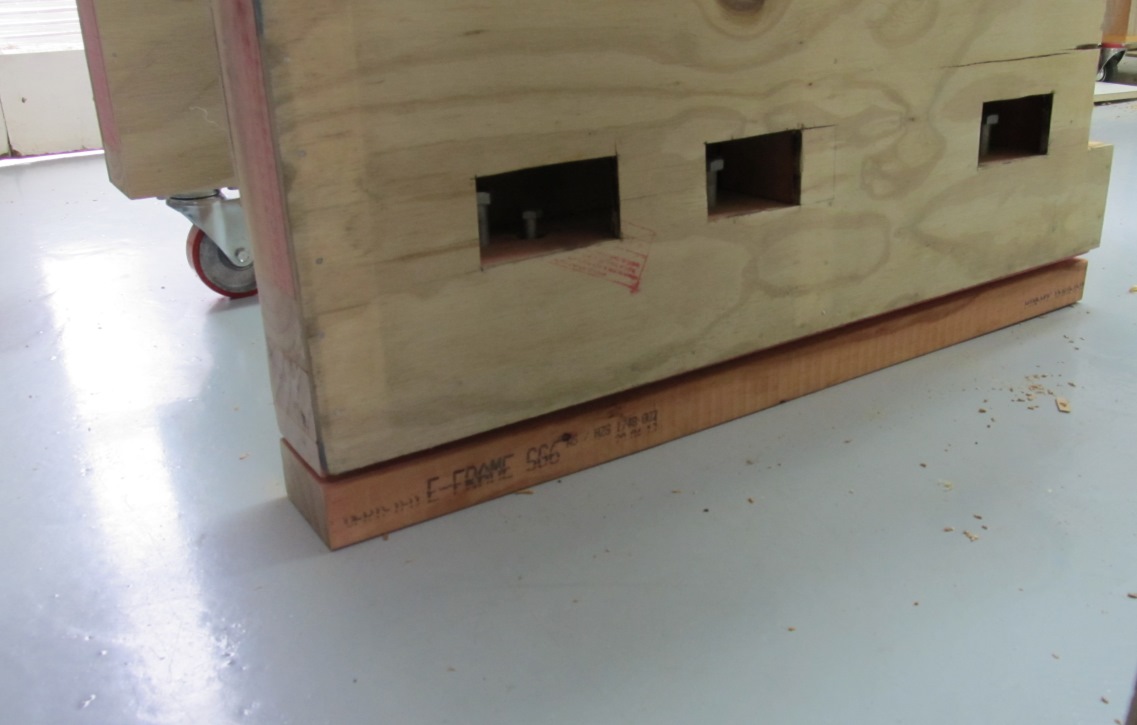
The bench design is based on the same torsion box design as my main workshop bench. Pretty overkill but I still had a lot of plywood offcuts from the workshop restoration that I needed to use up. There are castors on each of the four corners rated at 280Kg each. The centre foot jacks down with three 16mm bolts.
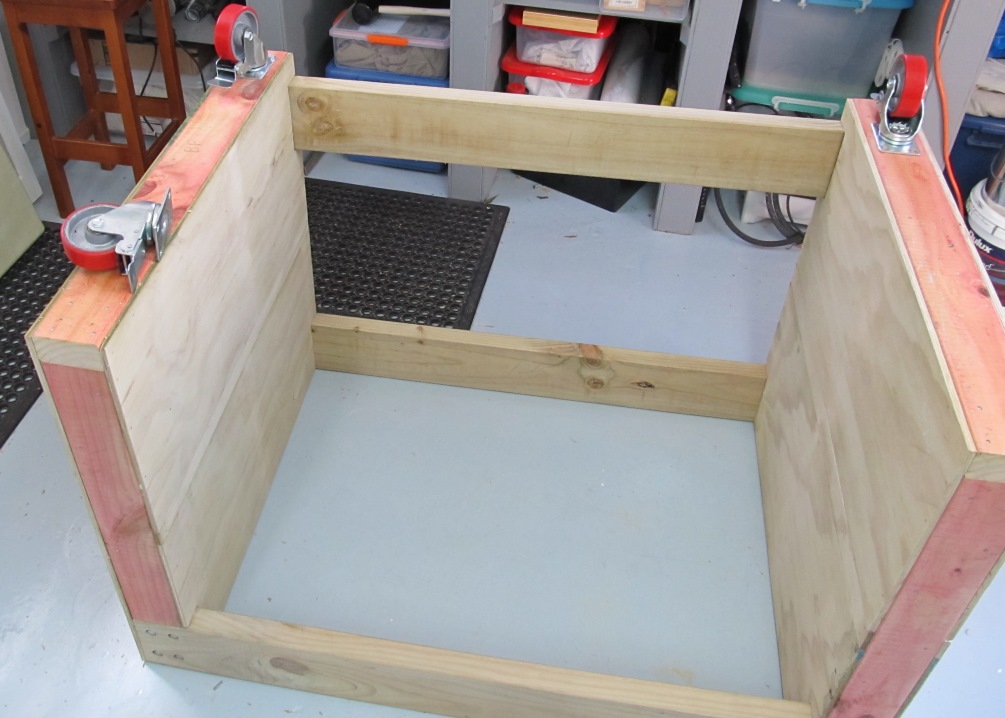
I was able to recycle wood from the fibreglass mould to make the fixing blocks for the bench top.
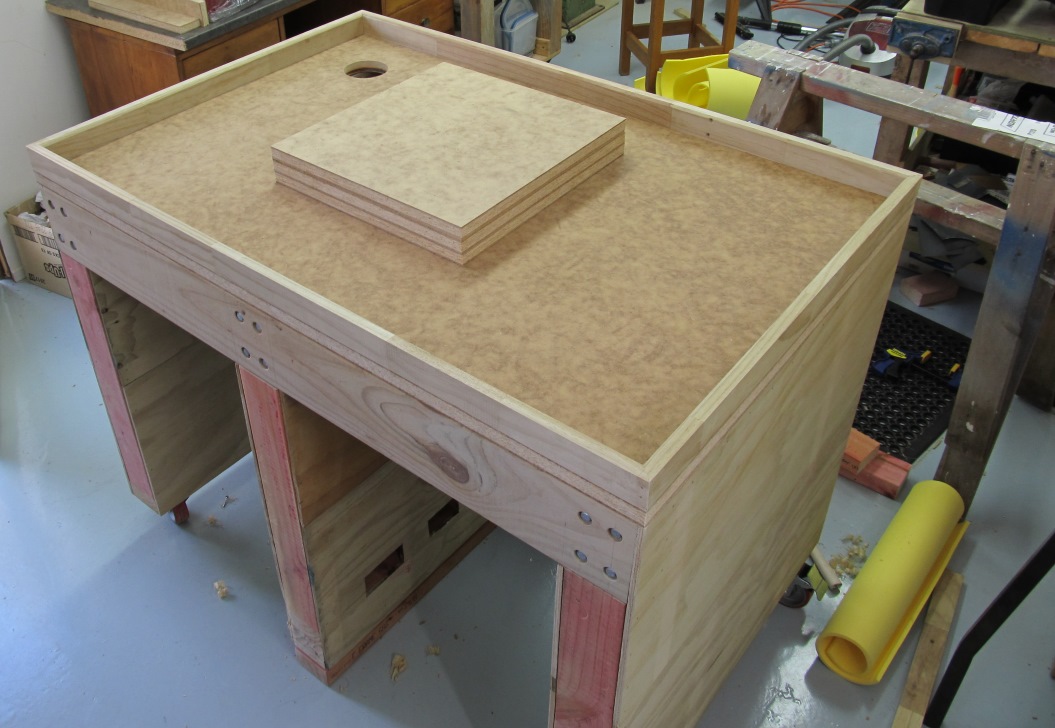
I used auto filler on the rough edge of the tri-board to give it a smooth seald finish.
And now for the best part…the install.
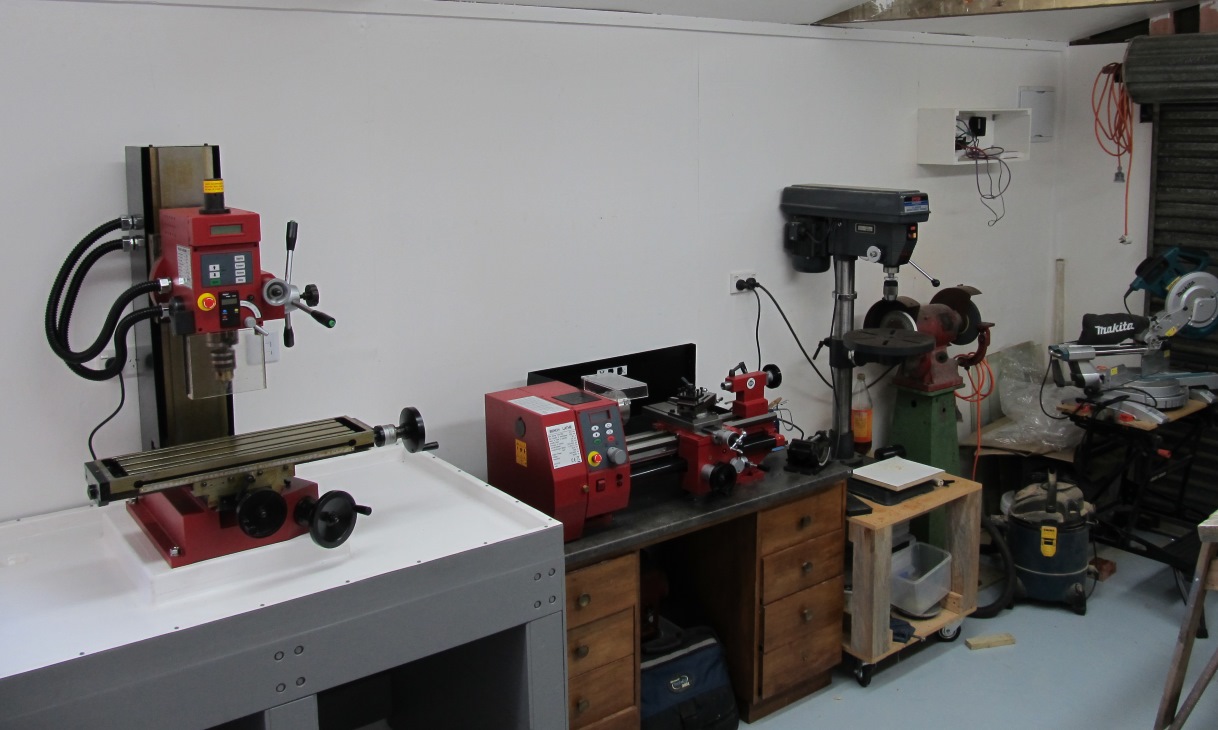 On the left: Sieg SX3 milling machine. On the right: Sieg SC4 lathe
Thanks
Special thanks to my wonderful wife who painted the bench, to Simon for the help and use of the engine crane. And to Andy for the offer of the engine crane. To Chris at www.sieg-machines.co.nz for all the help. And to Adam who transported the machine.
And a plug for my favourite local businesses:
NZ Fibreglass, always with helpful advice and Hill Lumber who have the best lumber prices around
Conclusion
Things I’d do differently:
- Contouring the tray and drainage area to make sweeping swarf away easier
- Take more care on the mould to reduce the moulding artefacts
- I’d consider making a reusable fibreglass mould so I could make more trays and sell them – although I suspect the market in NZ is fairly small
- I probably wouldn’t bother with the jack’able middle leg and just use casters instead. The cost of the large bolts wasn’t much cheaper than the casters in the end. Arguably it provides more strength to the structure right under the machine. Arguably the middle leg is overkill and not needed at all!
Thanks for stopping by, hopefully this gives you some ideas if you’re thinking of doing something similar.