Structured Cable at Home
I’ve been a bit slack with my blog lately, partly because in October we bought our first house so that’s been taking up a lot of my time. It’s a good solid 1950’s house but VERY original so it needs a LOT of work.
 Me plastering the back room getting it ready for painting.
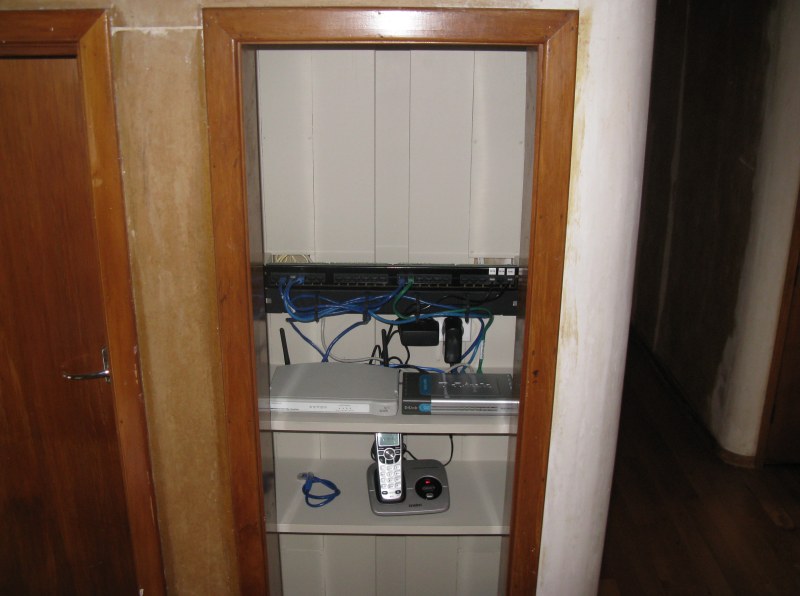
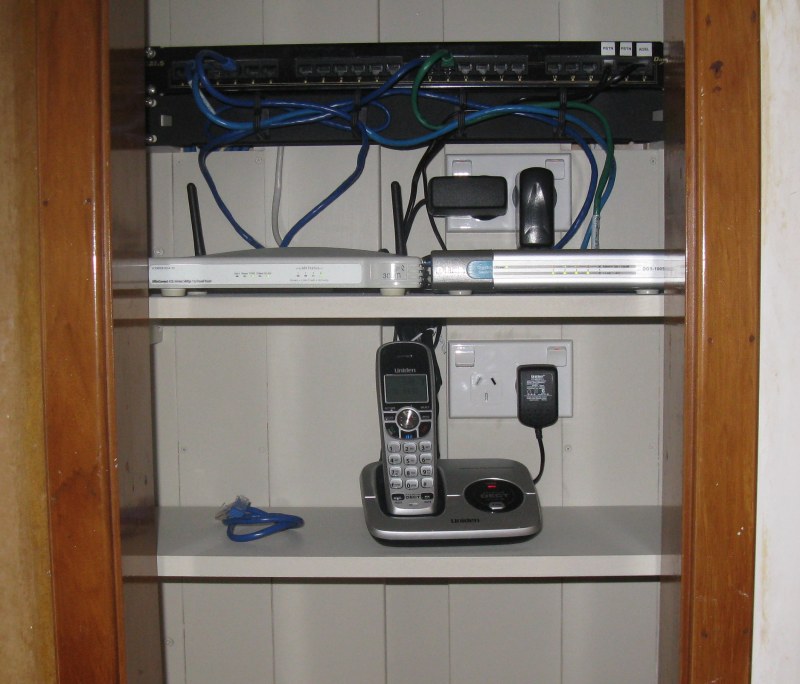
From network engineer to home handyman / plasterer / carpenter! Don’t worry though I’ve got my priorities straight! Structured cabling and network cupboard is almost complete. I’m quite pleased with how it’s turned out so decided to put up some photos.
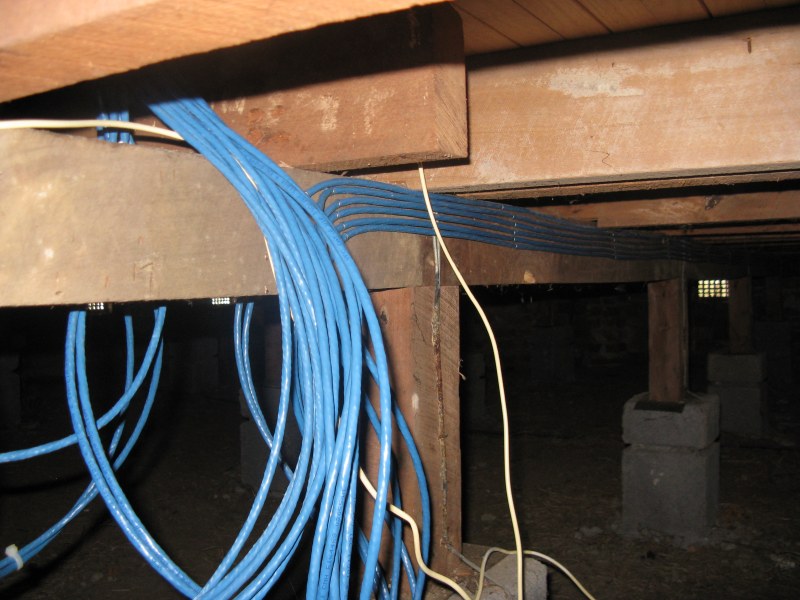
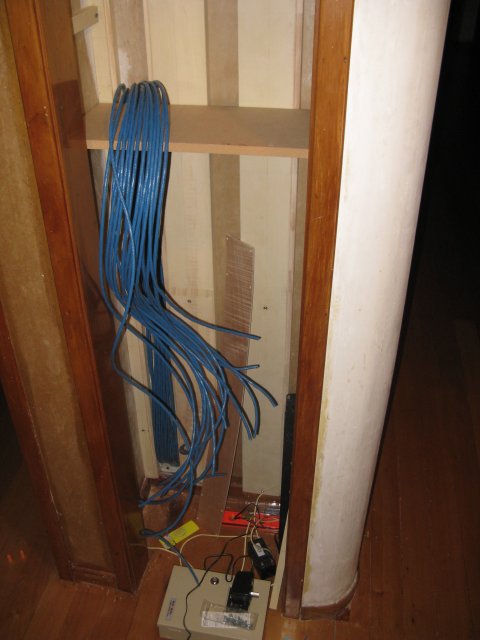 Cables come up from under the floor into the wall cavity
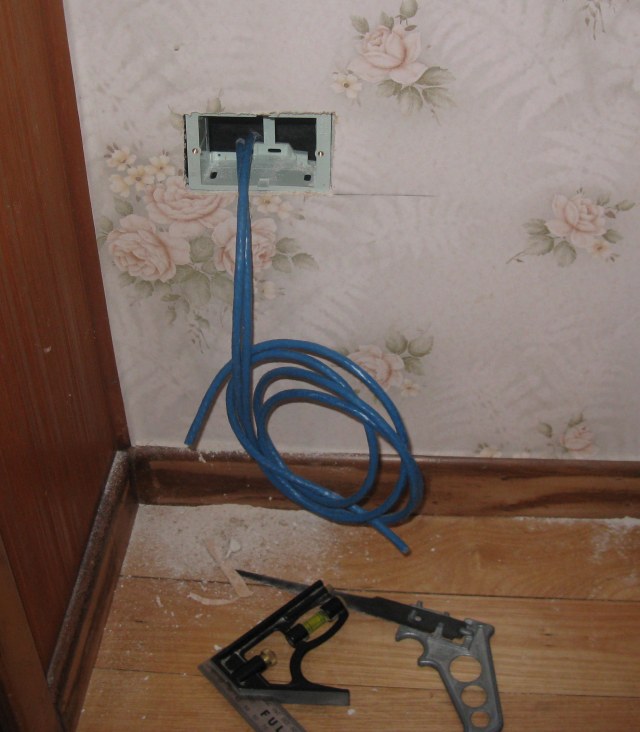
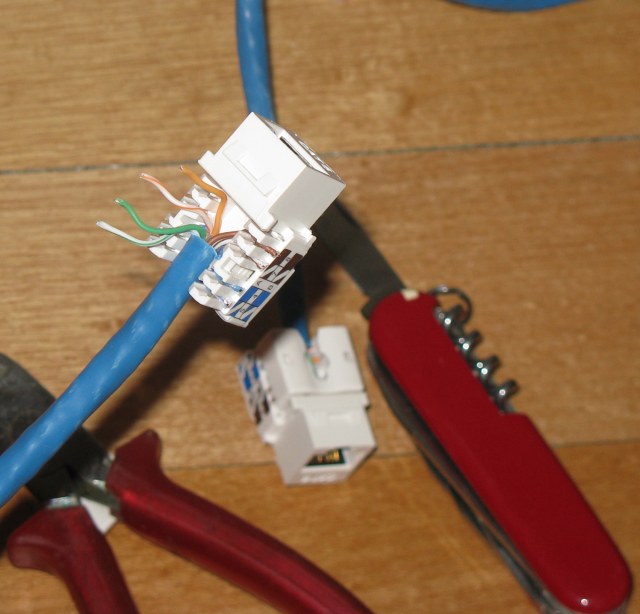
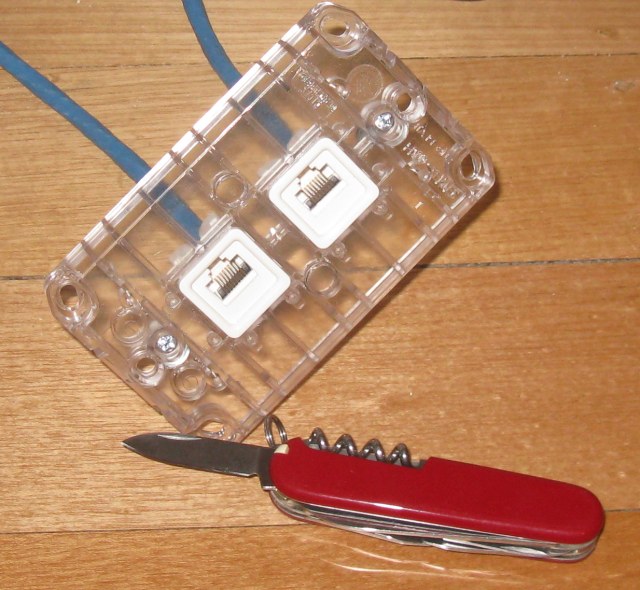
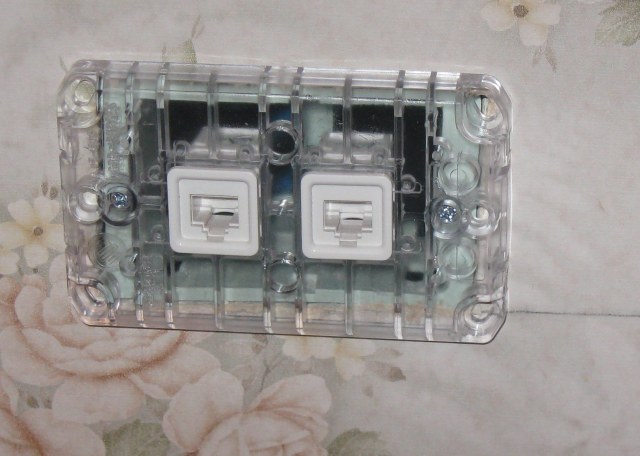
Fortunately there was a little wee open-cupboard off the hall. It’s a good central point to run all the cables back to. I’ve installed a total of 16 network ports. 6 in the lounge, 2 the dining room and 2 in each of the four bedrooms. The cable is CAT6 and is all run under the floor. I’ve created 3 channels by running 30mm thick strips of pre-dressed pine from top to bottom of the cupboard.
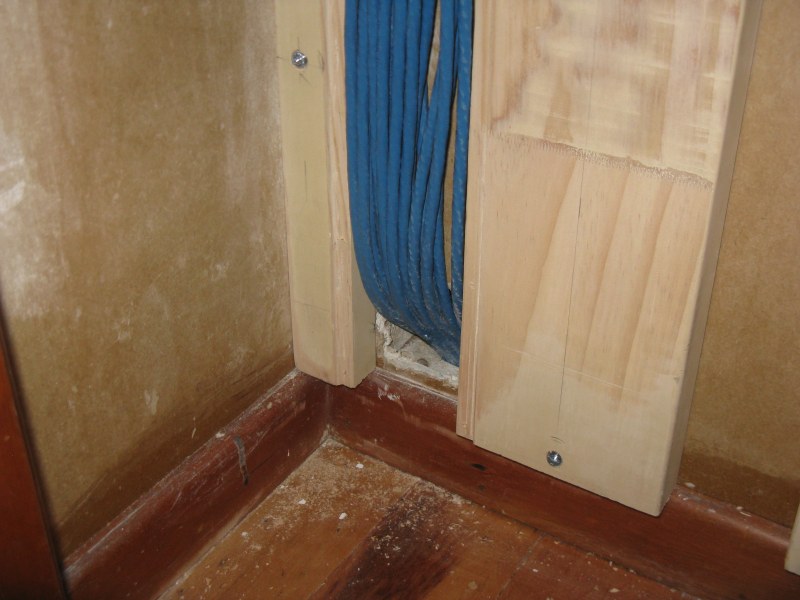
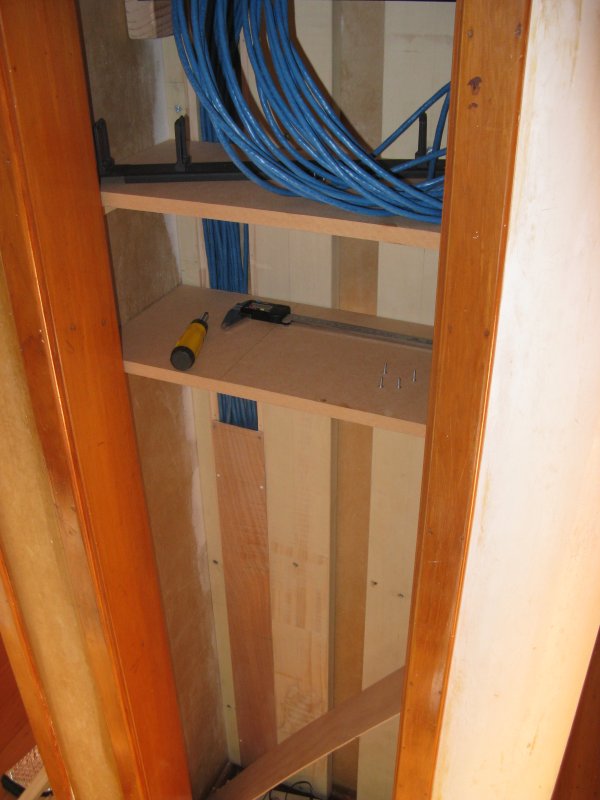 Left channel with bottom capping section installed
The left channel carries the CAT6 up from the floor to the patch panel. It is also used to carry alarm wires down from the ceiling. It has notches which accommodate 3.5mm plywood capping. The right channel is also capped and will be used for carrying power cables. The centre channel is left open and used for running cables between the shelves.
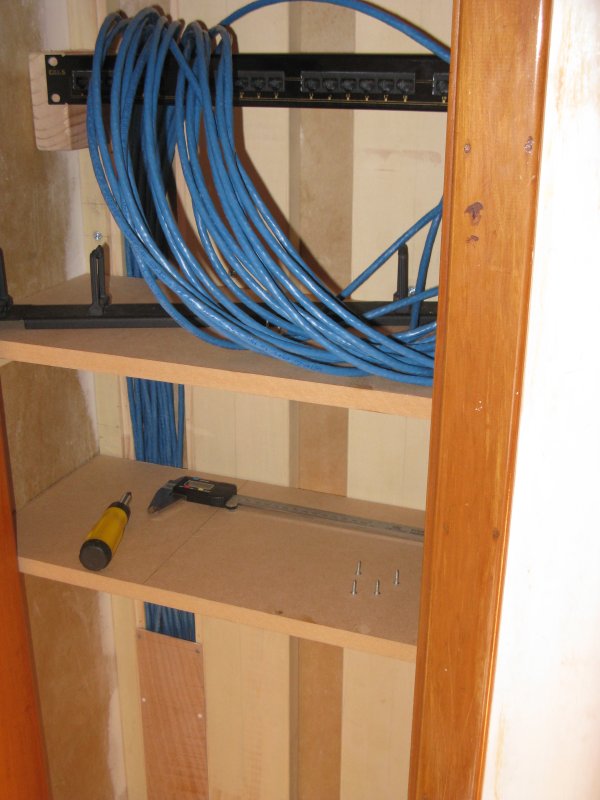 Patch panel, yet to be mounted and punched down.
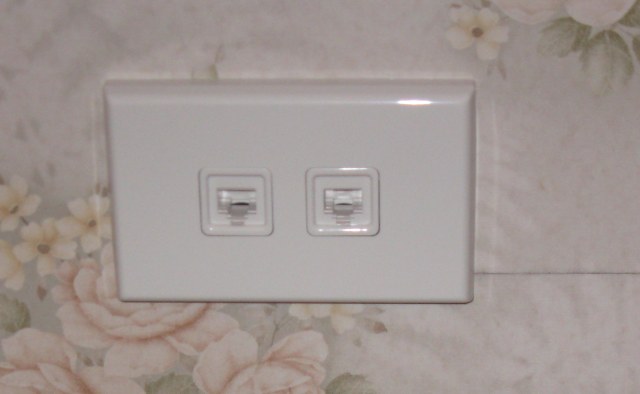 Next step, get rid of that wallpaper!!!! But like I say, priorities!
